The most challenging part of the wall or floor tiling process is choosing the layout. Even if your tiles are laid perfectly on a suitable substrate or backer board, the visual design can make or break all the effort. Straight and even lines are essential but refrain from having the inevitable cut tiles as the focus point.
You should always have a balanced view when looking at tiled walls; thus, attempt to keep whole tiles in the center and move cut tiles to the top and sides. Having cut-tiles at the bottom is best as furniture or other fixtures may hide them. In addition, keep cut tiles on the wall sides as even as possible.
Ultimately, tiles and tile layout on walls come down to personal choice, but I found one specific rule to follow and some key factors to keep in mind concerning cut tile placements which will be explored shortly.
Different Tile Layouts And Patterns
Before planning your tiling project, it is important to choose which tile layout and pattern you would like to have.
Tile layouts and patterns are fundamental to any tile project as they will enhance the visual impact and add value to the room or tiled area. I have listed three typical pattern examples below:
The Square Or Straight Tile Layout
This layout is a commonly used design whereby tiles are laid in straight lines parallel to the wall edges:
When the tile starting point is measured correctly, this layout will produce the least amount of cut tiles.
The Diamond Tile Layout
When laying square tiles at a 45-degree angle, it produces a diamond-shaped look and is often an effective way to make smaller rooms appear more prominent:
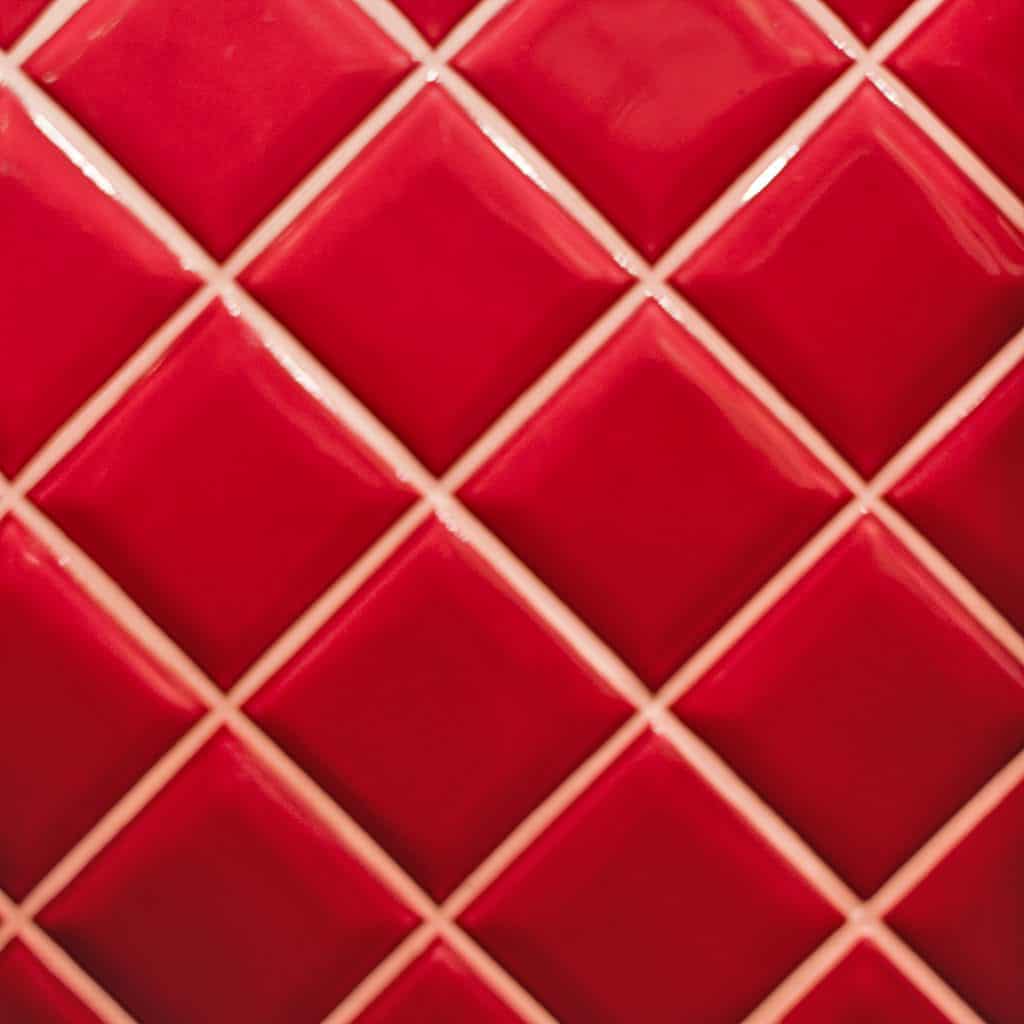
Unfortunately, a diagonal layout uses more tiles, resulting in more cuts required on the edges of the sides of a wall or floor.
The Brick Pattern Layout
The brick layout is similar to brick walls and created by offsetting each tile by half with the adjacent tile in straight or squared layouts:
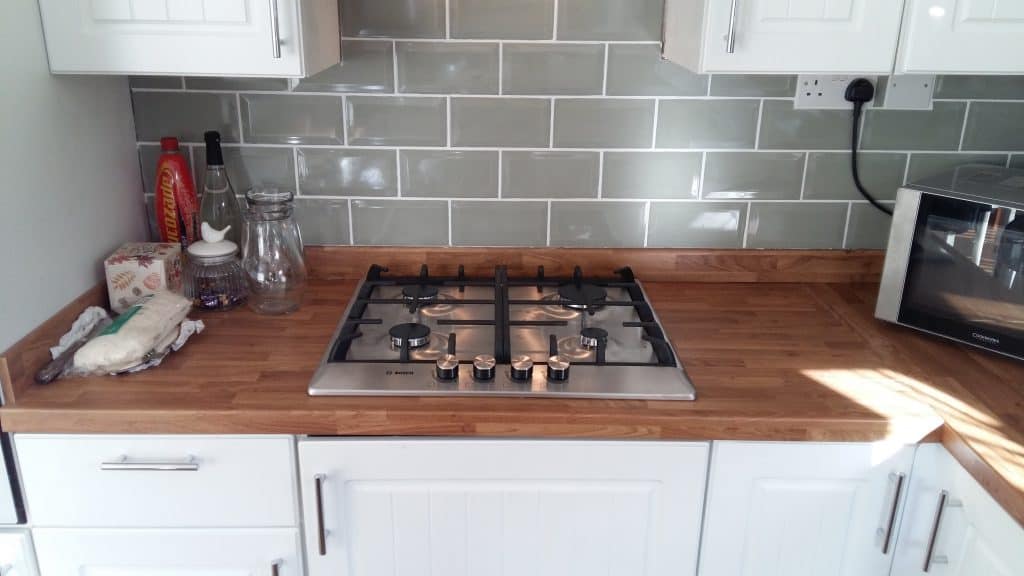
It creates a more modern look and flair and hides some line imperfections. Similarly, with larger tiles, offset by a third to create a beautiful brick layer pattern.
Where To Place Cut Tiles On A Wall
The main rule is to never place cut tiles in the center of any tile surface; instead, put them in areas that are less noticed and try to hide all cut tiles behind or under fixtures. However, two schools of thought prevail as to where to start tiling. Let us briefly discuss them:
- Firstly, whole tiles should be placed in the center of the walls and work outward to the wall sides. The one advantage is it ensures the chosen layout pattern is symmetrical, and therefore, any cut tiles end up on the sides and hopefully of equal size. Of course, you may end up with more cutting, but the visible result will be worth it.
- Secondly, some may argue that starting in a corner will allow tile patterns to flow across the wall, and only create possible cut tiles on the opposite ends. It may be true for larger surfaces where tile pattern flows are prominently visible with fewer hiding options for cut tiles.
In comparison, it depends on the room type and size of the tile surface and the envisaged visual impact it would have at first glance. It will be better to start tiling from the middle and work outwards, as there are many options to hide cut tiles on the bottom and side edges.
Should Cut Tiles Be At The Bottom Of A Wall?
Even when starting to tile in the middle, you can adjust the center slightly up or down to ensure cut tiles are only necessary at the bottom. Cut tiles at the bottom can be hidden and do not catch the eye visually and, therefore, mostly go unnoticed.
Should Cut Tiles Be At The Top Of A Wall?
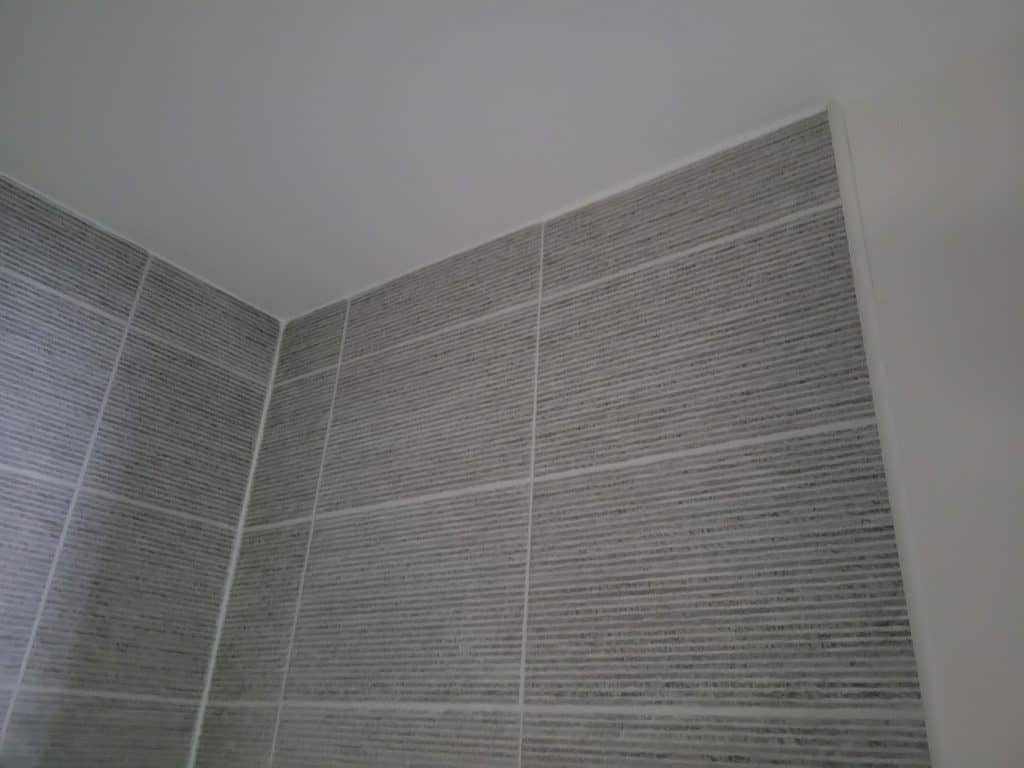
Whether you start tiling from the center or the side, try to have whole tiles at the top, as it is challenging to hide them visually. Similarly, if preferred, you can adjust the center starting point and start tiling from the top corner.
However it is a matter of personal preference – I once did a tiling job where the customer wanted cut tiles at the top, and I think it looked fine overall:
So your mileage might vary here. There isn’t necessarily a ‘right’ and ‘wrong’ answer here.
Tiling Layout Tips
The best tip is to lay out tiles in a dry run as it is easy to adjust tiles and determine the best layout. It may be challenging to lay out a dry run on walls, but a few calculations should guide you to the best place to start to avoid unnecessary tile cutting. The below YouTube video explains this idea further:
The main points to remember are:
- Start in the middle and try to leave equal spaces at the sides for cut tiles.
- Avoid intricate tile cuts and cutting tiles to widths less than three inches.
- Start at the room’s door wall and work your way outwards.
- Know where your vanity unit(s) will be and plan to cut tiles accordingly.
- Know where most of the traffic will be and plan tile layouts accordingly.
- Choose a design to use whole tiles optimally.
- Plan to place cut tiles where they can be hidden or out of vision.
- Get tile setting software as it will allow you to experiment with different layouts.
Summing Up: in other words, it’s worth planning ahead! If you just start randomly tiling, you might end up with a bad tile layout that results in tile wastage or cut tiles in the ‘wrong’ place.
How To Create A Tile Layout
Creating an effective tile layout is often best done by being physically present in the room to be tiled, and then following these steps:
- Step 1: Get the center of the wall or tile surface.
- Step 2: Create vertical and horizontal lines indicating the layout.
- Step 3: Ensure to make provision for grout spaces when drawing and testing the layout.
- Step 4: To test the configuration, use a dry fit horizontally and vertically. For a wall, do a simple calculation to fit the tiles from the center point.
- Step 5: Adjust the center point slightly to ensure no tile cutting on the top and even spaces on the sides.
- Step 6: Adjust the layout lines to the best visual appearance and fit.
Having said all that, even the best tile layout will still require tiles to be cut. So let’s explore how to cut tiles next.
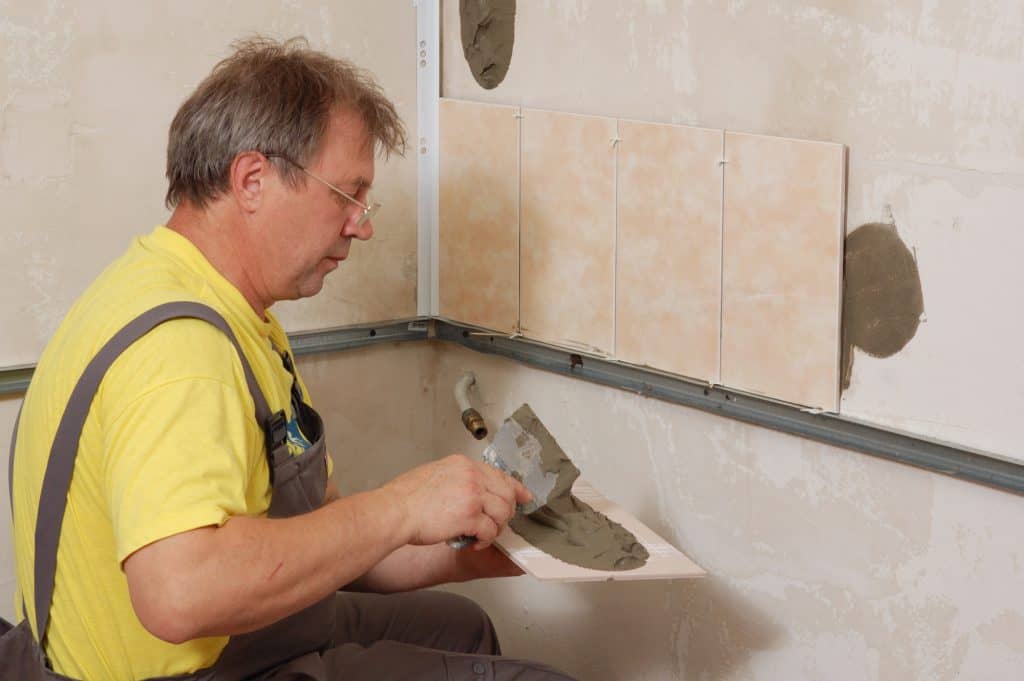
How To Cut Ceramic and Porcelain Tiles
Manual tile cutters will work fine on all tiles, but a wet table saw is an essential appliance if you are a regular tile layer. They can cut all tile types and provide a straight and smooth surface cut.
Alternatively, you can ‘mix and match’:
- Use the manual tile cutter to score and snap.
- Use an electrical saw to smooth the edges.
- Then use a wet table saw for more complex tile cut designs. (Note: electrical saw cutters can be messy, I would therefore recommend cutting the tiles outside!).
Using a manual tile cutter requires a bit of learning at first, but the steps are often fairly straightforward regardless:
- Measure and mark the line or shape on the tile on the top side of the tile.
- Place the tile in the cutter and align the cut line with the cutter axis.
- With a firm downward push, score the tile by dragging the cutter wheel across the surface of the tile.
- Put pressure along the scored line to snap the tile.
Alternatively, an electric (wet) saw is similar to cutting wood with a saw – just align the tile, and push it along the saw blade:
- Mark the line or shape area to be cut clearly on the top side of the tile.
- Place the tile in a vise with cushioned vise jaws.
- Cut along the marks using the electric saw.
As is often the case, the ‘right’ tool for the job can vary, too. An electric wetsaw makes a lot more mess than a simple ‘score and snap’ tool. You might find that an electric wetsaw is necessary for a massive tile job, but so a smaller tiling job with small tiles might just need a manual tile cutter.
Conclusion
There will always be tiles that need cutting as a wall, and floor surfaces do not match tile sizes exactly. Choosing tiles and tile patterns are personal choices but choose in such a way to minimize tile cutting. In addition, limit the cut tiles to only one side, and preferably at the bottom where they can be hidden with no or limited visual impact.