Diamonds may be forever, but if you lay your tiles off-center, you will be acutely aware of them forever too – and it will be for all the wrong reasons. There is a lot of debate about where to start tiling tile a wall, so you won’t be haunted by the results for years to come. We have some strategies to help you make the best decision, so your tiled wall will be a showpiece for years to come.
Starting in the middle of a wall makes it easier to ensure that the overall tile pattern remains even, balanced and symmetrical across the entire surface. It is also acceptable to tile from the bottom so long as the floor is completely level. It is not a good idea to start tiling from the top.
Some tilers work from the middle, others from the bottom, and there are usually sound reasons for their preference. Not all projects are the same, and specific settings may require different approaches.
Tiling A Wall: Where Is The Best Place To Start?
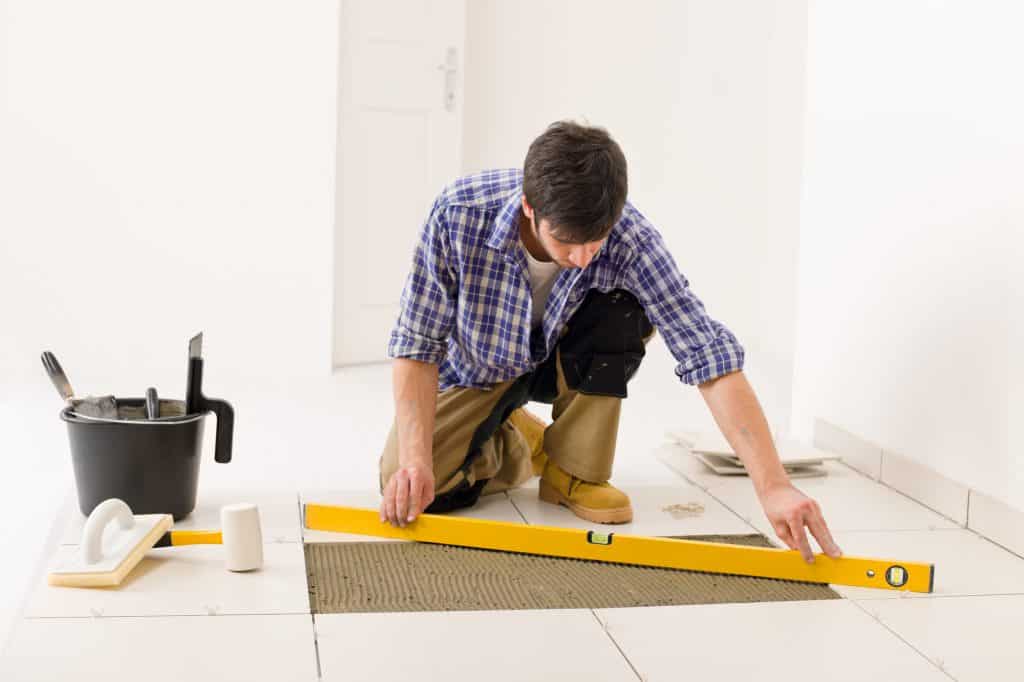
The best place to start with any wall tiling project is to check the levels. You could be Picasso with tiles, but if the wall or floor is wonky to begin with and you start tiling expecting them to be straight, the result will always look like the job was done at 4 pm on a Friday afternoon.
So before you start thinking about tile pattern or trim or bordering the window frame with your tiles, grab a spirit level and check the level of the floor, the plumb of the walls, and the straightness of the surface you plan to tile:
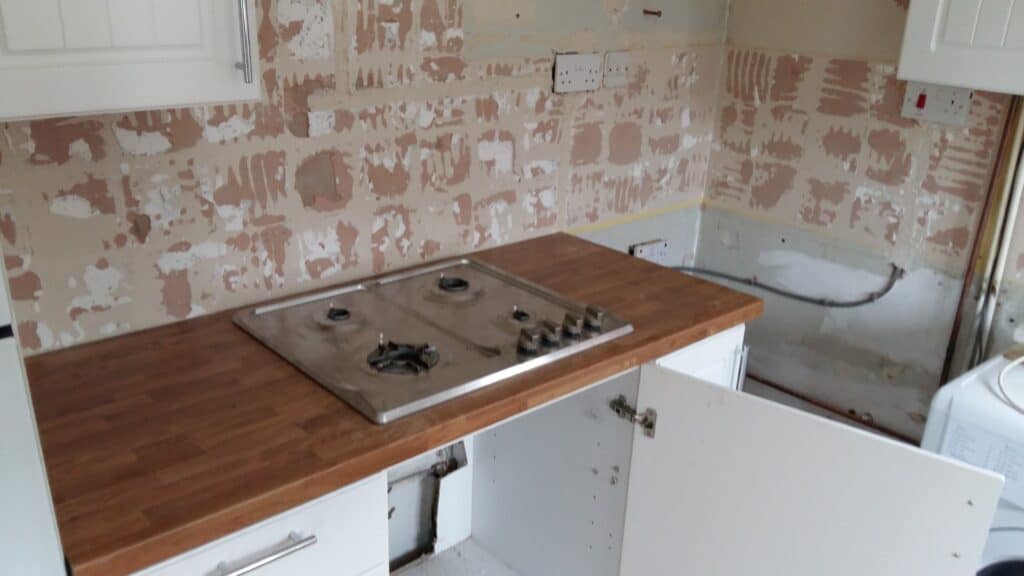
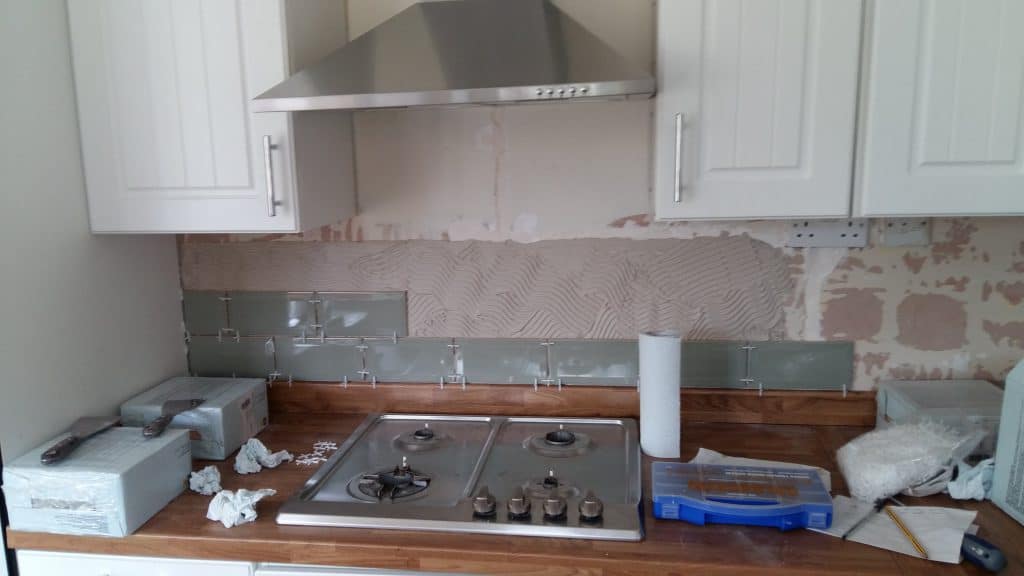
If you are tiling a backsplash wall, check that the countertop is level before you start putting tiles back on:
If you find your floor is a bit slopey down the one side or the wall has some unexpected depressions, the first thing to do before embarking on the excitement of the tiling makeover is to get the basics in place.
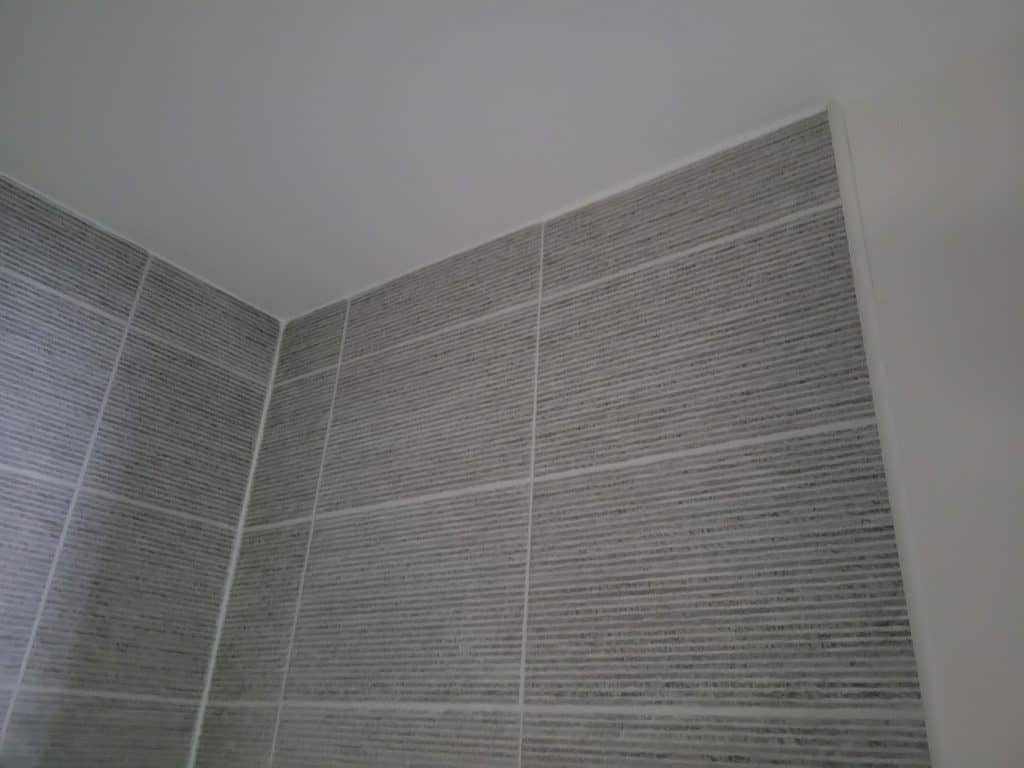
Whether you start tiling in the middle or the bottom, neither will look great if the wall isn’t flat, or you are forced to cut a series of special tile slivers to make it cover all the gaps. Make sure that any cut tiles are sufficiently large (like in the picture below), otherwise they might look a bit ‘out of place’.
Once you have leveled and you are confident that the wall is straight and ready to tile, it’s time to devise a strategy:
- Measure the wall to establish a midpoint—criss-cross width and length. Make a mark with a pencil on the spot identified.
- If you have a laser level, set it up. Indicate the midpoint and straight vertical and horizontal lines. Does it make sense to start in the dead-center of the wall?
- Are all the tiles you are setting up to lay shaped the same, or are there trim sections or patterns that need to be factored in? Not all tile jobs are a single color or shape from top to bottom of a wall.
- Are the tiles being laid straight in a straight formation, or perhaps on a diagonal or brickwork pattern? An interesting note about tile spacers, if you didn’t already know, is that to create a brickwork effect, simply snap off one of the four ends to make it T-shaped while laying tile.
- Are there any windows or a light switch or fittings that will need a neat border and may need to become a focal point of the wall?
It is important to be sensible with tiling and consider the overall effect. Start with a mental picture of the end goal in mind and lay your tiles accordingly, even if that means not starting in the exact center.
Tip: Regardless of where you decide to start tiling, a top tip is to only work in small sections. Gravity is your enemy when tiling a wall, and you need to ensure that each layer is spaced correctly and securely adhered to the wall. It is therefore impossible to work too quickly.
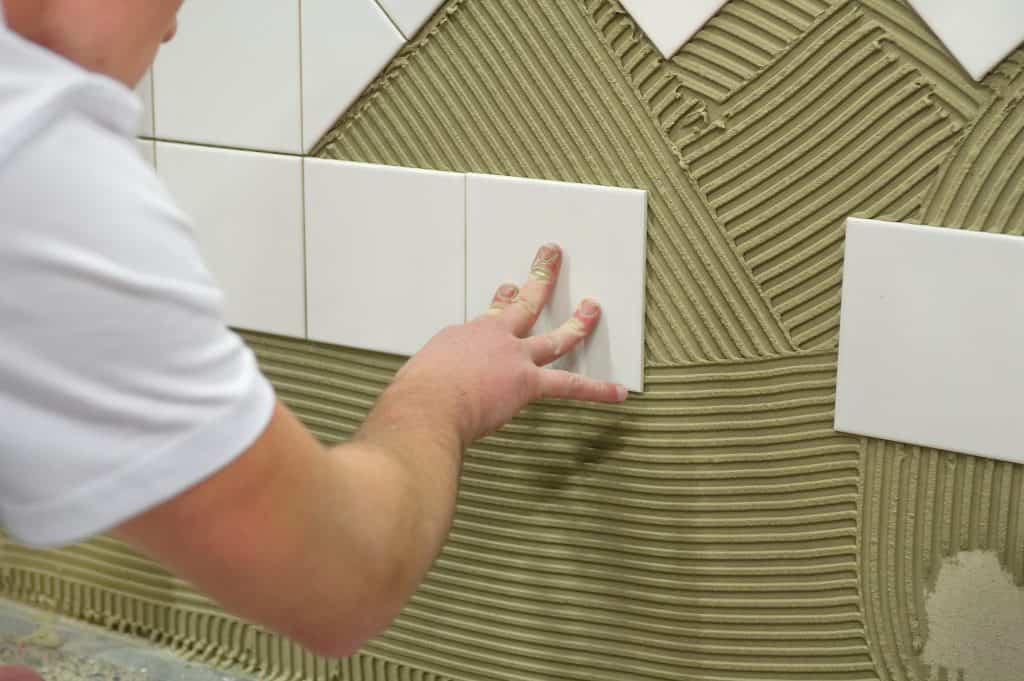
Wall tiling over a large surface or an entire room needs to be carefully planned. Everything from the size of the tiles to the strength of the adhesive used will affect the end result.
There is little use to arranging the tiles magnificently, but they start lifting off the walls after a few months because you used the wrong adhesive or didn’t prepare the surface. The Tile Council Of North America warns prospective DIY tilers to know their limitations and not to take on jobs that are too complex.
It is never recommended to start tiling at the ceiling level and work downwards. That is a recipe for disaster as there is a high chance that the newly stuck tiles may slip after being laid, which will spell disaster for the rest of the project.
So, now that we have eliminated one of the options, let’s look at two commonly used methods. Remember, walls are often more visible than floor tiles which can be hidden with furniture or even a rug. Wall tiles will be at eye level so getting it right is essential.
Tiling A Wall: Starting From The Middle
Starting from the middle of a wall is likely to result in a more balanced result, and it is the recommended method. The key to tiling from the center is establishing the mid-point and checking how the tiles will fall across the wall’s surface.
Measure from the center to the ends of the wall and again from the center to the floor and ceiling. Once you have established the middle point of the wall, grab your pencil and start marking off how the tiles will fit. Although the final aim should be a nice, uniform balanced look, listen to your voice of common sense and move your proposed center tile around until its position makes sense in relation to the outside edges of the walls and any fittings.
Avoid landing up with thin silvers of tile along the end (or top) of a wall. Any half tiles you may need to complete the rows should be evenly spread. Keep in mind that if you are using porcelain tiles, you will need a wet cutter, and shaping tiles is going to be very tricky (which is why laying porcelain tiles often costs more).
Using a nifty laser level can make things easier because you can quickly shift it if you need to adjust the starting point. Once you have found your center starting point, attach a timber baton to the surface. Remember to check the fit of the tiles on both sides of the center and the top and bottom.
The finished look should be a neat, well-planned surface – avoid needing to make a patchwork of tint tiles in any area because you started in the wrong spot. Once you start, it is hard to turn back, so put effort into carefully planning how to arrange the tiles across the surface.
Tiling A Wall: Starting From The Bottom
If your floor and walls are 100% level, some people feel more comfortable starting their tiles at ground level and working up. However, do not start in a corner and work along because it is highly likely that you will end up needing to cut small bits of tile or obviously off-center tiles over a feature or fitting.
Once you have checked that both the floor and the walls are perfectly level, lay the tiles out on the floor. Start by placing a tile in the middle and work along so you can estimate how much space you are going to have on either side. Look at the wall as a whole, don’t just focus on the small part you are working on.
Caution: A note of caution if you want to use this floor-up method. Be sure never to place the first row of tiles flat against the floor. Tiles need space to expand, and if your first tile is directly on the floor, there won’t be a gap to accommodate any slight movement. This will quickly result in tenting tiles. Use spacers or a batten board between the floor and the tiles to ensure a gap.
Working in a pyramid shape is recommended when using this floor-up approach. So lay three tiles on the bottom and then one on top. Once those are set, overlap the next pyramid by draping it in reverse on the existing formation. That way, you won’t be working in long awkward lines around the room.