It is essential to choose suitable materials when installing new tile flooring. For example, when you’re laying tile on a wood subfloor, you need a cement backer board as an underlayment to prevent water leaks that can damage your flooring. So, never lay tiles on the substrate directly; instead, lay the tiles on the installed Hardibacker boards.
Hardie backer cement boards are ideal as a base when laying tiles, especially on wooden subfloors. In addition, you can optionally add an uncoupling underlayment mat on top of the Hardie Backer board to act as a waterproof membrane to further curb moisture and dampness from reaching the tiled floor.
Tile backer cement boards are an essential layer to an existing subfloor and will add advantages to the tiling project and possibly prevent a few future headaches. So, let’s explore Hardibacker boards in a bit more detail.
What Is The Composition Of Hardibacker Boards?
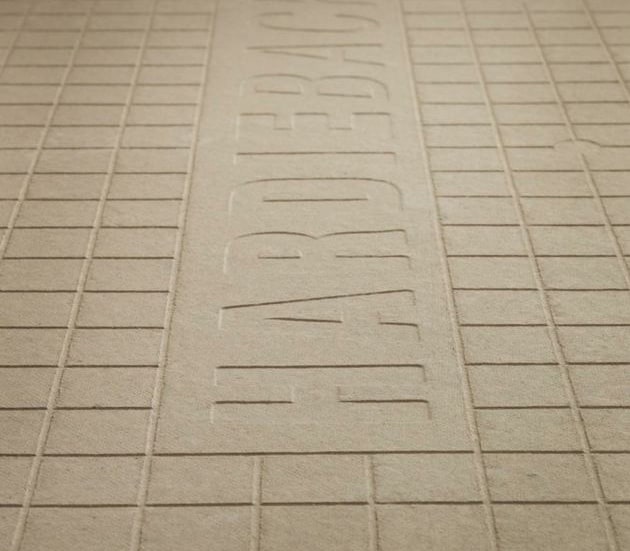
Before exploring its possible tiling compatibilities, let’s first understand what Hardie Backer boards are. Hardie® Backer Board, also called Hardibacker board, is part of the cementitious backer underlayment (CBU) family. These boards form a smooth and adhesive-friendly base for ceramic tiles.
The quarter-inch thick cement board consists of cement and sand, giving it a porous texture that allows thin-set, tile adhesion, and grout to bond well. Other ingredients are; water, silica, limestone flour, and fibers to strengthen the board structure. They are light and easy to work with and have an EZ Grid® fastener pattern, making sizing and cutting easier.
Cement backer boards are not expensive and ensure tiling projects to complete faster. In addition, and probably most important, is the cement backer board’s contribution to durability because of its ability to curb moisture and dampness that leads to wood rotting and mold.
The Ideal Backer Board Thickness For Tiling
Hardibacker board comes in the following sizes:
- 1/2-inch thick sheets of 96-inches, with a width of 48-inches
- 1/4-inch thick sheets of 60-inches, with a width of 36-inches
The quarter-inch backer boards are perfectly sufficient when used over an existing subfloor. When attached directly to subfloor joists or planning to lay tiles, opt for thicker 1/2-inch boards.
Why Hardibacker Board Is An Ideal Base for Tiling
When comparing backer boards to drywalls, the actual value of the backer board’s tile compatibility is better understood. First, plastering drywalls with mortar creates the cement wall finishes and structure. In addition, components such as fiber are added to backer boards to increase their strength and sturdiness.
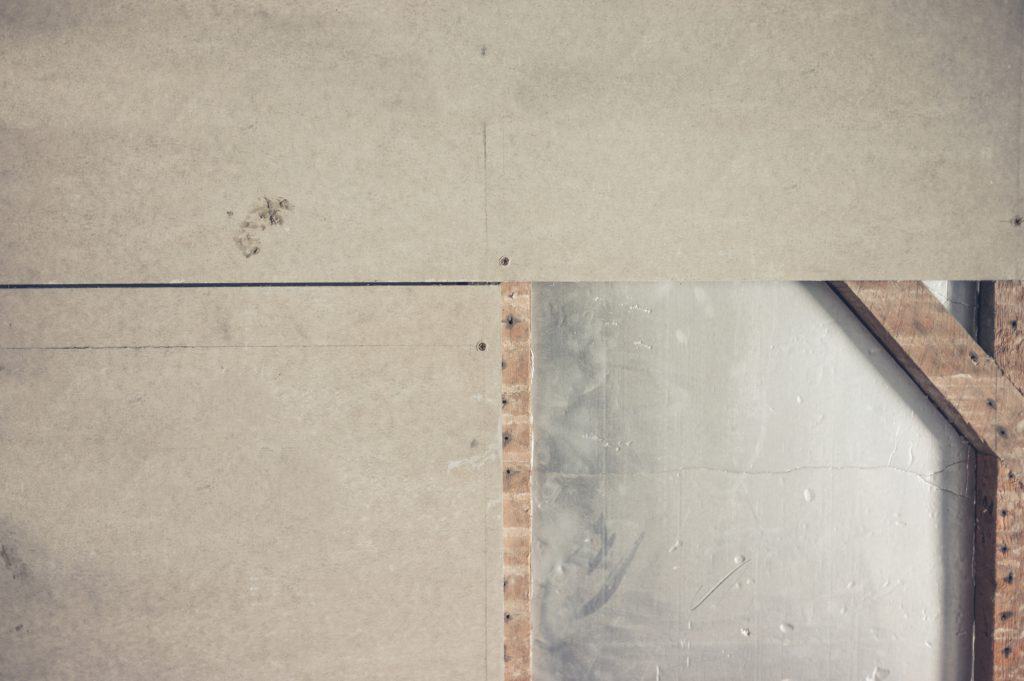
How To Install Hardibacker Boards On Subfloors
Remember, cement boards, are not a replacement for substandard subfloors. Ensure that your subfloor adheres to the local approved building code standard for tiling. For example, when joists are more than 16-inches apart, first reinforce the subfloor before considering the Hardibacker board as an underlayment.
Firstly, I recommend the quarter-inch Hardibacker boards when planning to lay tiles on any wooden subfloors. Secondly, consider a Digtra or equivalent underlayment mat to compensate for the potential subfloor movement and additional protection against moisture and dampness. Additionally, seal the wooden subfloor with a quality sealant.
Below are the general steps that you can follow for this process:
- Step 1: Spread a layer of mortar across the surface of the subfloor and keep a bit for later use
- Step 2: Place and level the pre-cut sized Hardibacker boards in the wet mortar
- Step 3: Stagger the boards in such a way that the sheet edge corners overlap and keep 1/3-inch between sheets and a similar distance away from walls
- Step 4: Screw or nail the Hardibacker cement boards across the whole floor surface
- Step 5: Use some of the leftover mortar from step 1 to fill the gaps between the board sheets and the board and wall edges
- Step 7: Apply cement board alkali-resistant tape to all the sheet joints and the board and wall corner edges.
- Step 8: Optionally consider priming the cement boards, although this step can often be skipped.
- Step 9: Lastly, wipe the floor clean from any excess mortar and allow it to dry.
The video below covers how to apply alkali-resistant tape to Hardie backer board joints:
How To Lay Tiles On Hardibacker Cement Boards
Now that you have installed Hardibacker cement board on your adequate standard subfloor, you can now proceed to lay the tiles. Hardibacker cement boards are compatible with all types of tiles. Follow the below easy steps to lay down your tiles on the Hardibacker board surface:
- Step 1: Ensure the whole Hardibacker board surface is clean and free from dust or other particles
- Step 2: Using a trowel, smear the thin-set or tile adhesive evenly across a portion of the surface, slightly larger than a tile size
- Step 3: Lay down the tile by pressing down lightly on it, and then with small vertical and horizontal moves, set the tile in position
- Step 4: Redo step 2 and step 3 for the following tile and use tile spacers to align as required
- Step 5: Remove excess adhesive or thin-set from the groves between tiles
- Step 6: Once satisfied, let the tiles set and dry for at least a day before grouting
For more information on these steps, you can watch this video on How to install Hardie Backer:
Do You Have To Waterproof Hardie Board?
You do not have to waterproof Hardibacker cement boards; however, consult your local tile and building codes that apply to your area. I always advise, especially for bathroom tiles, to add a waterproof underlayment membrane for that extra barrier against moisture and peace of mind.
How Do You Cut Hardie Board?
It is effortless to cut Hardibacker cement boards to size. Use any utility knife, but a carbide-tipped scoring knife works just as well. You may opt for dust-reducing circular saws if you want. But I’d personally suggest that there is no need to use any electrical grinders or wood cutters as it only creates unnecessary dust, which can be challenging to clean, especially indoors.
Note: always to use respirators when working with dust-prone materials as your health is worth much more than the project.
Lastly, don’t dry sweep cement backer boards; instead, opt for wet suppression vacuum cleaners.
Pros And Cons Of Using Hardibacker Boards For Tiling
From experience, it was challenging to find real cons to Hardibacker boards, or any cement backer board, as they are purposely made and fulfill their specific need perfectly. Nevertheless, let’s look at the pros and cons in more detail.
Hardibacker Cement Board Pros
- Strength. With its fiber content, it provides high compressive strength with a solid cement foundation which is perfect as a tile subfloor layer
- Tile adhesion. It is critical, and Hardibacker cement board provides that service with excellence
- Non-abrasive. It helps to curb and prevent moisture damage due to the added cement and sand composites and abrasive aggregates.
- Less dust. Not much dust when cutting and, therefore, no real mess to clean up afterward
- Easy to cut. Use a simple score and snap method and fold on the scoring line.
- Easy to shear. It leaves clean, precise edges to align boards later
- The sheets are light and easy to handle.
Hardibacker Cement Board Cons
- Some argue that the score and snap are better on other cement backer boards. With Hardibacker, the break only happens after a few wiggles on the scoring line
- Hardibacker fiber boards soak up moisture and water better than other cement boards; therefore, they “hides” damp and water leakage problems, leaving them unnoticed until it may be too late
The Difference Between Hardie Backer And CBU
There are some differences between Hardibacker and other cement backer boards (CBU), even though in practise both boards are similar and perfectly fill their purpose in the subfloor and floor tiling processes.
Nevertheless, Hardibacker cement boards are lighter and less messy. It results in a smooth surface, and the HardieBacker board’s EZ Grid pattern guides you to cut in straight lines. Finally, Hardibacker boards are the most popular selling cement board brand, probably for a reason.
What Screws To Use On Hardibacker Boards
Screws or nails work perfectly on Hardibacker fiber cement boards. Use at least one 1/4-inch long corrosion-resistant nails or countersinking screws for the best results. Fasteners are not required when installing Hardibacker over concrete. This link to the Fine HomeBuilding forums (discussing the best screws for Hardibacker boards) may interest you.
Is Thin-set Needed To Install Hardibacker Boards?
Thin-set or thin-set-mortar is an adhesive made from cement, water, and fine sand. Its design is specifically to hold tiles to a backer underlayment board. Similarly, it will create additional strength to the subfloor when using a thin-set between the backer board and subfloor.
Sometimes thin-set or mortar is omitted when installing cement backer boards to subfloors, expecting the nailed or screwed sheets onto the subfloor substrate to be sufficient. But, again, I want to advise you not to take the shortcut. Thus, a few extra dollars for mortar can save you hundreds in the long term.
Conclusion
To backer board or not to backer board? That is a straightforward question to answer. Always use Hardibacker cement boards when planning to lay tiles on the top layer floor. I would suggest it is essential to do so. The advantages outweigh any possible extra costs by far, and you will enjoy your tiled flooring for many years without any underlying potential issues.