Whether you are looking to completely overhaul your kitchen or simply want to change the current backsplash, you are bound to have to tile or retile the floor or your kitchen’s wall. For those of you who have an open kitchen attached with your dining room, it is essential that you take extra care when going through with this DIY adventure.
One problem that almost every DIY-er faces is when tiling a wall with cabinets. A common question that arises is when tiling around existing kitchen cabinets, should you tile under the cabinets as well or go around them? What is the best way to do that?
One problem that almost every DIY-er faces is when tiling a wall with cabinets. A common question that arises is when tiling around existing kitchen cabinets. Should you tile under the cabinets as well or go around them? What is the best way to do that?
Generally, it is a good idea to tile around existing kitchen cabinets and not go under them. However, the answer can vary as well depending on several factors. In this article, we will consider the what, how, and why of tiling your kitchen walls – particularly when it comes to cabinets.
So, let’s dive in!
How to Tile Around Existing Kitchen Cabinets
When you are tiling around existing kitchen cabinets, it is a good idea to ask yourself the following questions to ensure that you don’t end up making any mistakes:
- What sort of base are you working with?
- In the US, you are most likely going to find a wooden frame under the wall in every corner of the house, except of course, the one behind your stove. Depending on where you are tiling, you could find yourself tiling on different surfaces. For example, if your project requires you to tile the floor as well, you are likely going to find linoleum flooring over a sheet of thin plywood, on top of wood joists. For that, you are going to need to pull up both layers and put new plywood for strength.
- In the UK, you are likely going to find concrete behind most walls, which you are going to have to prime or roughen the wall up.
- Are you just looking to create half a backsplash or tile the whole wall? Are you going to tile only till your cabinets?
- How expensive are your tiles? How expensive are your cabinets?
When we undertook a similar project, we found that the cost of tiles is a huge factor when it comes to determining whether you should tile underneath your cabinets or around them. Although it is a good idea to NOT tile underneath cabinets, the heart wants what the heart wants, right?
You need to remember that a good tile will last you longer than your cabinets will – much longer. If you are going for travertine tiles or marble, skip tiling underneath the cabinets for your own and your wallet’s sake.
If you are going with an expensive tile, install the cabinet first and then start working on the tiles around. If, however, you have cheaper tiles and you won’t have to cut as much (and therefore essentially spend much less time and effort), you can go with covering the whole room and then place the cabinets on top. When installing cabinets, just make sure you have the right bit for drilling a hole in the tiles.
Oh, and when you tear out the old tiling and cabinets, do yourself a favor by changing the floor tiles as well. New wall tiles on old floor tiles will end up looking out of place and you may have to start working on the floor all over again. Trust us, we learned that the hard way.
Should you tile behind or under kitchen wall cabinets?
When working kitchens, you are likely going to have to remove the old tiles first. If you don’t have tiles, you will have to prep the wall, which may not be as messy but is no less of an adventure itself.
Before you start working, remove the cabinets and cover the countertops with something soft, because when you tear away the old tiles, they will definitely fall on the countertop and can potentially end up damaging them.
By removing the cabinets, you make it easier for yourself to shim without having to worry about any broken tiles (hence, increased costs), chipping your cabinets, or even dropping the hammer on your countertop.
Once everything is removed, install the cabinets first and then move on to tiling. We would recommend covering your cabinets with a piece of cloth or simply having a wet rag in hand to ensure that the cabinets don’t get dirty. Removing dried mortar from cabinets can end up leaving nasty scars.
Once your cabinets are in, take a step back to decide where to start tiling, where to stop, and where the centerpieces (if any) need to go.
One very big disadvantage of your tiling underneath kitchen cabinets is that the next person who needs to retile the kitchen will likely end up cursing you for all eternity – and chances are that you yourself will be the one cursing!
A Note About Appliances
When looking to tile, you can even get away with tiling around your appliances, if you are on a budget. Before you install the cabinets, we also recommend that you add plywood in order to strengthen the wall and your cabinets.
When considering whether to tile around existing kitchen cabinets, don’t forget that it is actually a good idea to skip tiling under the stove if it runs on gas. Gas stoves – especially those with ovens under them – run very hot and can actually break the tiles behind them.
Having said that, it is important to mention that there is no code requirement or ‘DIY rule’ that prohibits you from tiling behind your cabinets or the stove. At the end of the day, it all comes down to personal preference. It’s just not the way we would (or many other professionals for that matter) would go about it.
Remember, not every cabinet has the same footprint. You are most likely going to end up breaking your tile(s) if you drill too many holes in it. A good tile can last from 20 to 30 years easily, but cabinets may constantly need repair and/or replacement.
When that happens, you won’t be able to freely choose a cabinet that you like because you will be constrained to the footprint you left behind. In short, you will then have a gap in your wall to deal with.
Can You Re-tile Without Removing Kitchen Cabinets?
This depends entirely on whether or not the cabinet is attached to the tiles or to the wall directly. If you tiled around existing kitchen cabinets, you can definitely retile without removing kitchen cabinets. However, if you have tiles running underneath the cabinets, you will have to remove the cabinets as well.
However, one consideration to make if you are looking to replace kitchen tiles that are tiled around kitchen cabinets is that you will need a power tool such as an oscillating saw or an angle grinder to cut the tiles. The grinder is cheaper than an oscillating saw or a rotary saw, but is equally effective.
When we undertook the project, we used an angle grinder with a tile cutting blade and marker to do the same. However, it wasn’t our first project. Choose a power tool that you are more comfortable with. With an angle grinder, you have to cut the tiles before you place them, so keep that in mind.
Try cutting a few scrap tiles – perhaps the ones you removed – to practice on before you work on the more expensive ones. It takes a bit of practice to cut a straight line with an angle grinder.
Pro tip: Draw a line with your marker on the tile and cut about a millimeter or half a millimeter (one one hundredth of an inch). You don’t have to precise; just eyeball it. Once cut, grind it down to the line you made for a much smoother, professional look.
Can You Tile Right Up to the Edge of Kitchen Cabinets?
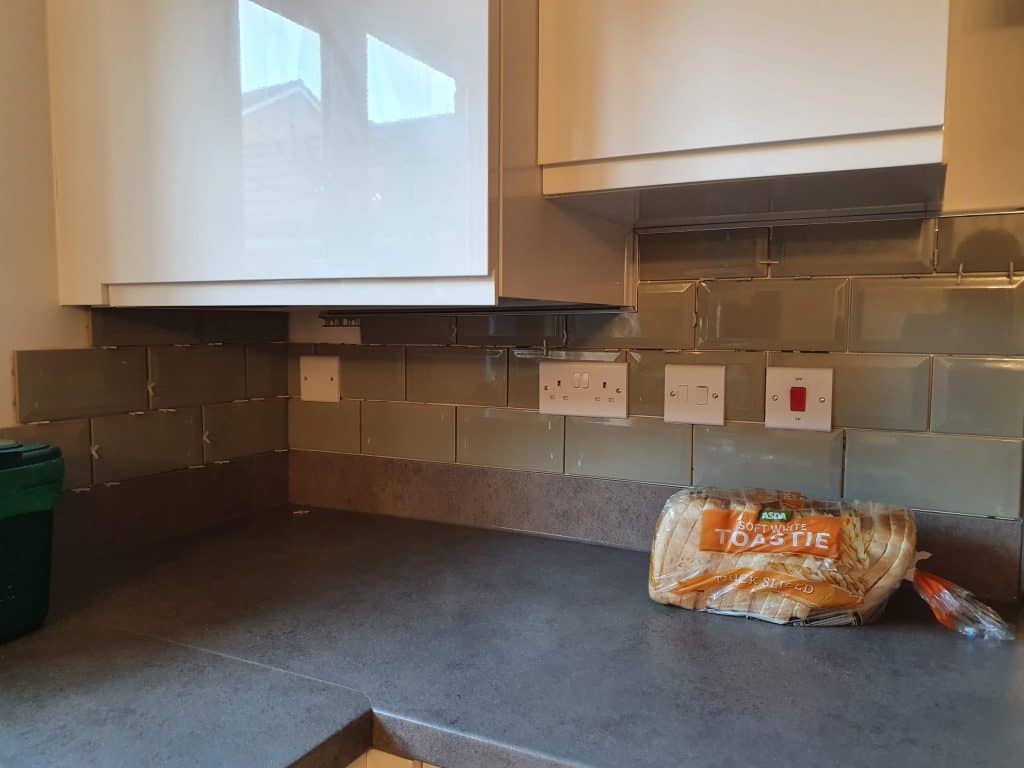
When installing tiles, it is okay to leave about ¼ inch space between the top backsplash and cabinets – and fill the same with grout. Just make sure to use the right color combination. ¼ inch of grout won’t bother anyone (and if it does bother someone, just give them a drink and they’ll be fine).
The general rule should be that the space between your tiles and kitchen cabinets shouldn’t be visible from the seating area in your dining room.
How to Tile Around Existing Kitchen Cabinets Without Removing Them
If you choose to tile around existing kitchen cabinets, but don’t want to remove them, here is a quick guide to help you understand the ins and outs of doing the same.
You will need:
- Hammer and chisel
- Tiles
- Mortar
- Grout
- Mallet
- Tile spacers (optional)
- An oscillating or rotary saw, or an angle grinder
- A tile cutting blade for whichever tool you are using
- If you aren’t as experienced with the saw, buy a sanding disc/blade as well
- Safety glasses
- Gloves
- Ear plugs
- Dust mask
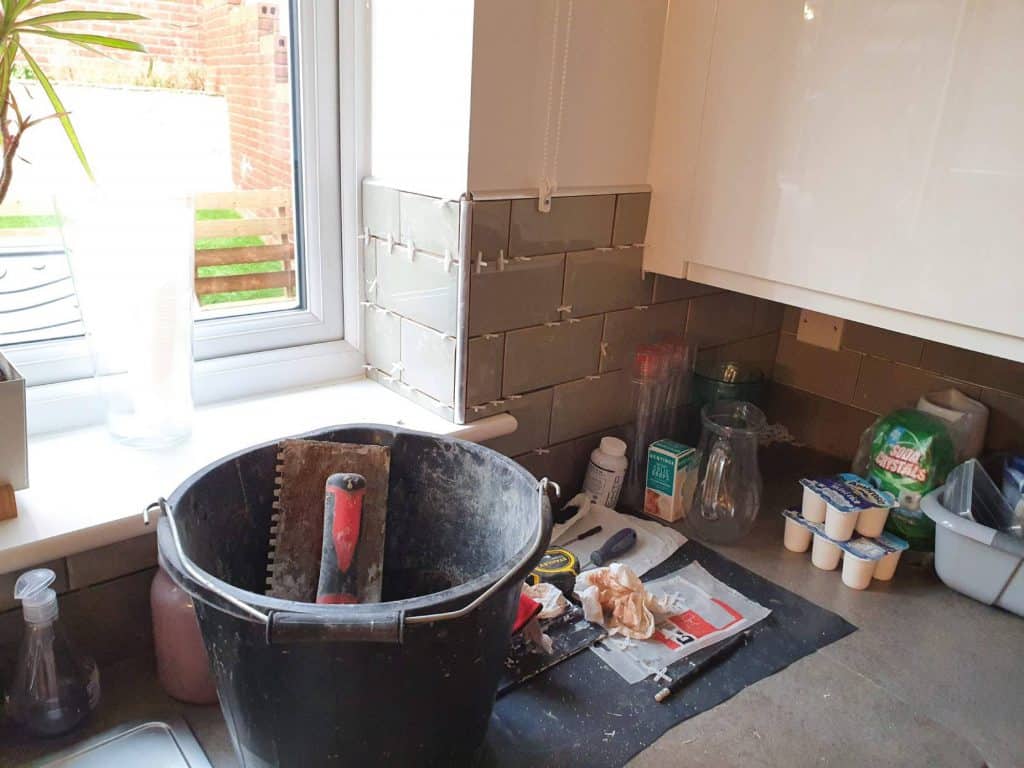
To start off, you will have to remove the existing tiles. Do so with the help of a hammer and chisel. If installed correctly, the tiles should come off pretty easily once you have their corner(s) removed. The tiles, mortar, grout, and other material should set you back around $1,000 to $3,000, depending on the quality and design you choose. On average, such a job costs $1,800-$2,000.
Then:
- Install the tiles as you would on the wall until you reach the ones near your cabinet. Do not apply mortar here at this point.
- Attach your tile cutting blade to the power tool of your choice. Put on your safety glasses, gloves, ear plugs (we used headphones with our favorite music, by the way. NOT BLUES), and a dust mask.
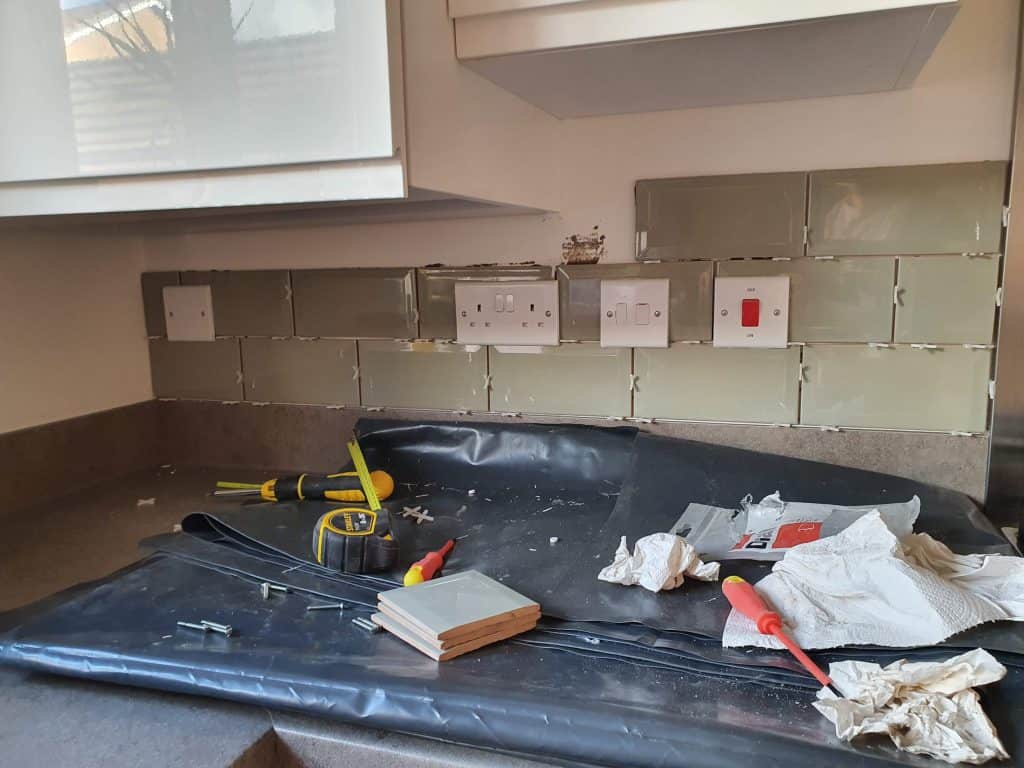
- Place the tile on top and on wall corners. Measure the same and draw a line on your tiles. If you have a tile marking pencil, it would really come in handy; otherwise a pointer or marker would do as well. Place the tiles flush against the wall when taking your measurements. Don’t leave more than ¼ inch – or half an inch at most – between your cabinets and tiles.
- Once all the markings have been made; start cutting. Turn on the saw and take it slow. Don’t try to cut corners (literally). Cut one tile section and then grind the same down to meet the size requirements.
- Let the power tool work for you, but remember to hold on tight to control kickbacks.
- Now, install the new tile(s) and place the spacers between all your tiles.
- Allow the tiles to set. We recommend giving the tiles at least 24 hours before grouting. Once set, remove the spacers and start grouting. Don’t forget the space between the tiles under your cabinets.
And you’re done! Just clear the debris, dust your countertops, and clean your cabinets. Remember to clean your tiles with a damp rag to ensure that the mortar doesn’t leave any marks on them after drying.