Planning is more important than the actual project itself, as with any project. With wall tiling, it is no different. Tiling walls have some additional rules and measures to compensate for and prevent possible problems along the way. Unfortunately, bad tiling is not easy to fix and will stare at you forever.
Wall tiles are more visible than floor tiles, and therefore you need all the help you can get to create a perfect tile layout and finish. Using batten boards to ensure straight vertical and horizontal tile lines is essential to preventing gravity from taking over and ruining potential perfection.
Please do not think laying wall tiles is as easy as floor tiling; it is not. However, it should not be a nightmare when empowered with the correct information, and the results will be as stunning as envisaged.
What Is A Wood Tile Batten?
Firstly, let us start by discussing what a batten or baton is. Any straight piece of wood long enough to run along the whole length of the wall. The preferred batten board sizes are one inch thick and two to four inches wide, but as long as it is straight and sturdy, it will do the job.
Other Types Of Tile Battens
Any linear piece of material can be used as a tiling batten as long as it guides a straight vertical or horizontal line. Instead of a wood batten, some people use a long spirit level to draw lines on the wall; however, the tiles may still sag if it is not rested on a batten screwed to the wall.
Technology is a good thing, and you can now purchase batten or tile tracker kits. These kits are loose standing next to the wall and can be adjusted up or down:
The tiles are laid on the wall while resting on a horizontal beam. One advantage is that you do not have to screw the batten to the wall.
Watch this video to see battening or tile tracker kits in action when tiling a wall:
What Is The Purpose Of A Batten For Wall Tiling?
When tiling walls, gravity is not your friend, and anything lighter than air will tend to sag downward; therefore, a batten board screwed to the wall will create a predetermined tile line to act as a guide and keep the tiles from sagging.
Typical Tile Batten Or Baton Sizes
There is no specific size prescription for tile battens, except that is should be rigid, straight, manageable, and can be screwed or glued to the wall. The rule of thumb is to be around 1-inch thick and 4-inches wide. The manufactured aluminum battens, such as from Vitrex, contain two long pieces of about 7-feet in total.
Do You Need A Baton When Tiling Walls?
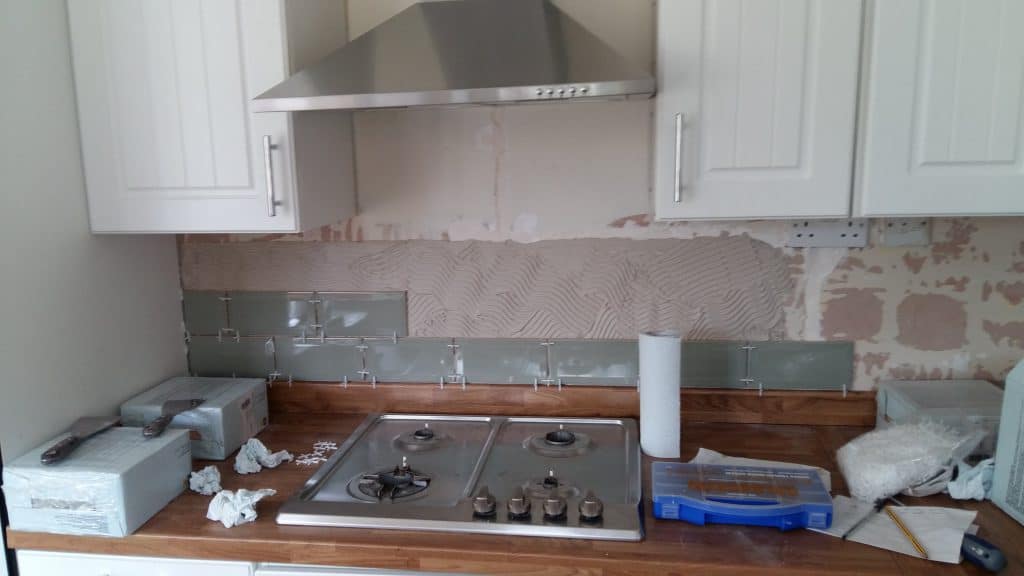
It is not essential, but it makes the result as close to perfect as possible. First, mark the tile pattern on the wall and remember spacers to allow for grouting; then, you can start laying the tiles. Use a non-sag thin-set mortar adhesive to hold the tile in position; however, it is risky, especially with large, heavy tiles.
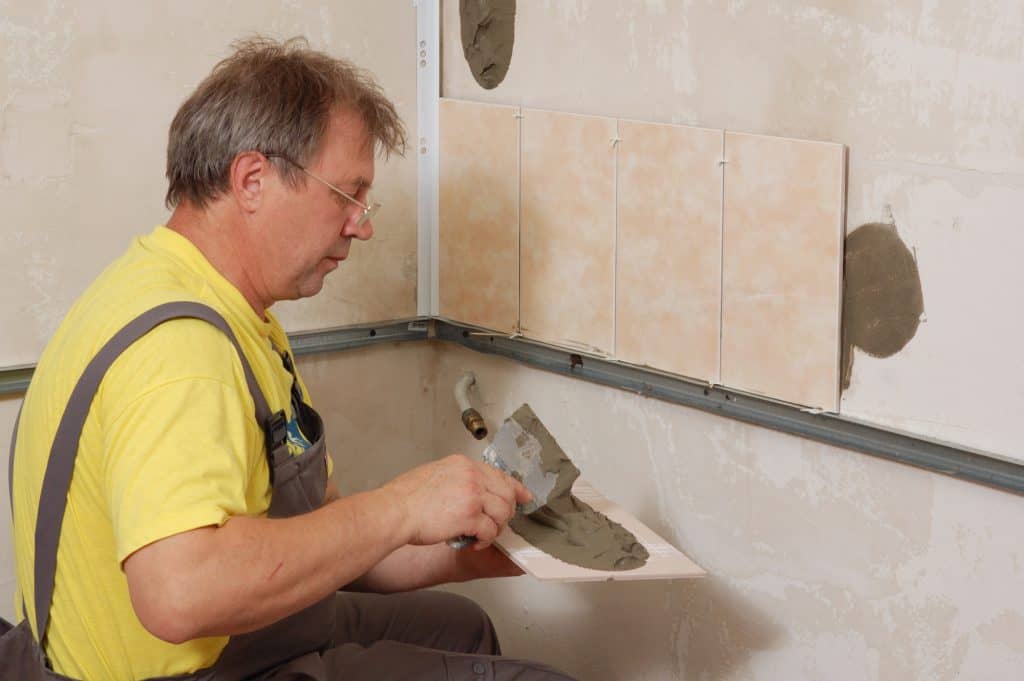
How To Tile A Wall Using A Batten
A batten board will help keep the tile lines straight and allow the tiles to dry while firmly in position. Assuming you have two batten boards and the other tools for tiling, follow the below easy steps to tile a wall using a batten.
- Step 1: Measure the center of the wall and mark it clearly with a vertical and horizontal line crossing.
- Step 2: Lay the tiles on the floor to establish the layout and compare them to the visual wall. Remember to use spacers to allow for the grout grooves.
- Step 3: Mark the vertical tile lines on the batten with a pencil as it is on the floor.
- Step 4: Place the batten vertically against the wall and decide where the bottom tile row would be. After that, adjust the batten up or down to obtain the preferred bottom starting tile line. Keep in mind to have even cut tiles at the top and bottom of the wall (which is often the result of starting off in the middle). Alternatively, have the cut tiles only at the bottom.
- Step 5: Use a spirit level to ensure all marked wall lines are perfectly vertical and horizontal.
- Step 6: Affix the vertical batten to the wall with screws or nails just deep enough to be firm.
- Step 7: Do the same for the horizontal layout using the second tile batten board. Mark the tile lines on the batten and transfer the marks to the wall. Screw or nail the batten to the wall in an “L-shape” with the vertical batten.
- Step 8: You are ready to start tiling with the battens and batten markings as guidelines. The bottom tiles will also rest on the horizontal batten allowing it to dry in position.
- Step 9: Remove the battens before grouting, and the tiles are firmly bonded in position.
How To Tile A Wall Without Using A Baton
Although recommended, using a batten board for wall tiling is not critical, but it is an easy, quick way to assure tile levels and precision positioning during drying time. Let’s briefly look at two more common reasons why wall tile battens are not required.
Firstly, if you know the whole tiles will be at the bottom row, and you are comfortable with possible cut tiles at the top of the wall, you can start tiling from the floor (or an upstand) upwards. However, it is still important to mark the tile rows on the wall and ensure they are level vertically and horizontally.
Secondly, you may use a non-sag thin-set, mortar, or adhesion, specifically formulated to curb gravity with a sturdy initial stick. It works well with smaller light tiles, ensuring they stay in position and do not slide down after laying. For example, any epoxy tile mortar will work as it sets quickly and will hold the tile firmly in place.
How To Prepare A Wall Before Tiling
Basic mistakes at the start of a wall tiling project can affect the final result, so ensure that you check the following before you start tiling:
- Remove all nails, screws, or any fixture fittings
- Inspect the plaster (or drywall), and fix or remove any loose pieces
- Clear the wall of any wallpaper or stickers
- Fill any cracks or plaster defects and sand to a smooth finish
- Ensure the wall is smooth and level
- Wipe the wall surface to remove any dust or dirt
What Is Meant By Dry-run Of A Tile Layout?
A dry-run is when you loosely pack the tiles in a preferred pattern to display the result visually before the actual tiling process. A dry run allows any adjustments and changes in layouts. Dry runs are very easy for floor tiling and will enable a display on the existing surface before affixing the tiles.
Similarly, dry runs can also be done for wall tiling. The only difference is that the tiles are packed on the floor and require a visual projection of the wall surface. However, it still helps tremendously with the planning and adjusting patterns and best-fit options.
Additionally, it helps to determine the tiling starting point and the placement of cut tiles for the best visual effect. Finally, it eliminates unnecessary tile pieces, which is also a cost saver and benefit to the tile project.
Tile Tips For Beginners
Each tiling project is different, even for seasoned tilers with years of experience, and brings challenges and obstacles. So, I have listed a few essential tips, especially for the novice tiler, that will hopefully provide that first knowledge step from where you can grow to perfection:
- A spirit level is an essential tool
- Do tile dry-runs to visualize the layout and pattern
- Remember to use spacers between tiles for grouting grooves
- Prepare the wall before tiling
- Make use of tile batten boards when tiling walls
- Wear protective glasses and gloves when cutting tiles
- Choose the correct adhesive or thin-set for the tile type and wall or floor tiles
- Plan for cut tiles to be on the sides and bottom of the wall where they can be hidden
- Apply adhesive to the wall and tile when tiling with large tiles
- It is better to start tiling in the middle of the wall
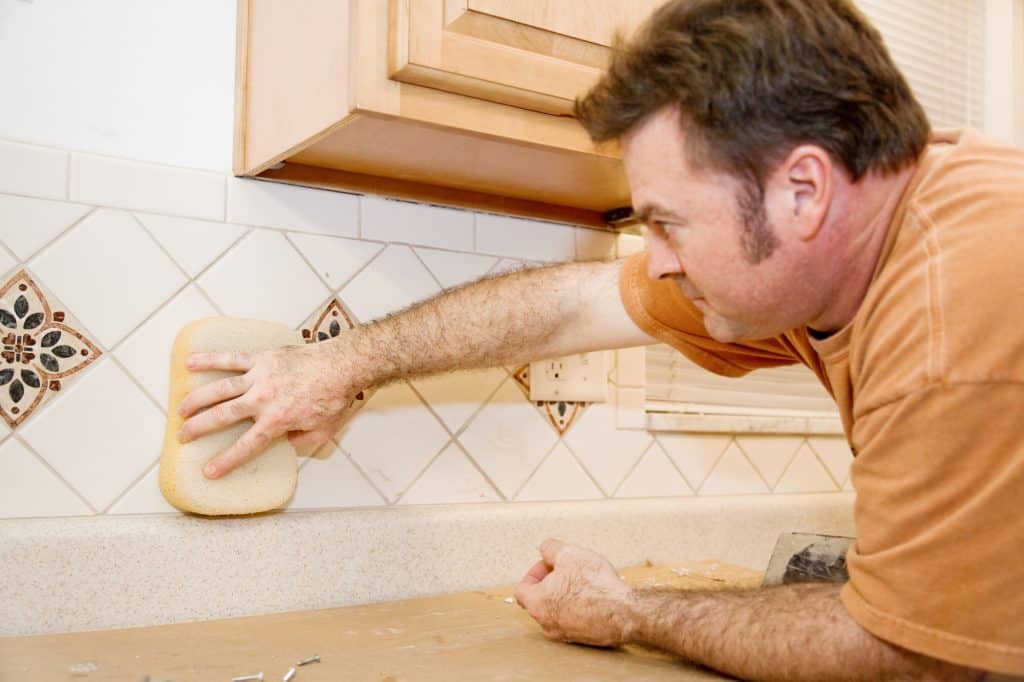
- Allow a minimum of 24 hours for tiles to dry before grouting
- Always read the manufacturing instructions on all products before use
Conclusion
Most experienced tilers will agree that tile batten boards for wall tiling are crucial to a successful and visually perfect tile project. You can make a batten yourself, and additionally, you can buy a batten kit that would make the leveling of wall tiles even easier.
FAQS
Q: Do you really need a batten/baton when tiling a wall?
A: Yes, it is highly recommended to use a batten or baton when tiling a wall. It is a helpful tool that ensures your tiles are installed evenly and at the correct height. Using a batten also helps to create a straight and level surface for your tiles.
Q: Why is fitting a batten important for tiling a bathroom?
A: Fitting a batten is especially important in a bathroom because it helps to ensure that the tiles are installed at the correct height, preventing water from seeping behind the tiles and causing damage to the walls. It also helps to create a more professional and finished look.
Q: What is the purpose of a batten in tiling?
A: The purpose of a batten is to provide a straight and level guide when installing tiles. It helps to maintain consistent spacing and ensure that the tiles are installed at the correct height. The use of a batten also makes it easier to install full tiles and cut the bottom row to fit if necessary.
Q: How do you secure a wooden batten to the wall?
A: To secure a wooden batten to the wall, you can use screws or nails. Make sure to use appropriate fasteners that are suitable for the type of wall you are working with. It is important to securely attach the batten to ensure stability during the tiling process.