Out of all the things that could go wrong when trying to apply tiles, applying less (or more) adhesive can be one of the most disastrous ones – from a structural and financial point of view. Therefore, it is essential that before you begin fixing or applying tiles, you decide on the adhesive strength and trowel type to use.
By adhesive strength, we mean the thickness of adhesive columns, and by trowel type, we mean the notch size and shape (U-notch or squared notches). There is no cookie-cutter policy to the type and strength you are going to use and therefore, the question of how thick tile adhesive should be still remains.
There is no standard trowel size when it comes to laying tiles and the type you choose depends entirely on the project you are working on – specifically the tile you are using. However, when in doubt, go with a 10mm u-notched trowel. It might not be the best fit, but if you don’t want to get into specifics, it might be the next best thing.
What Is Tile Adhesive?
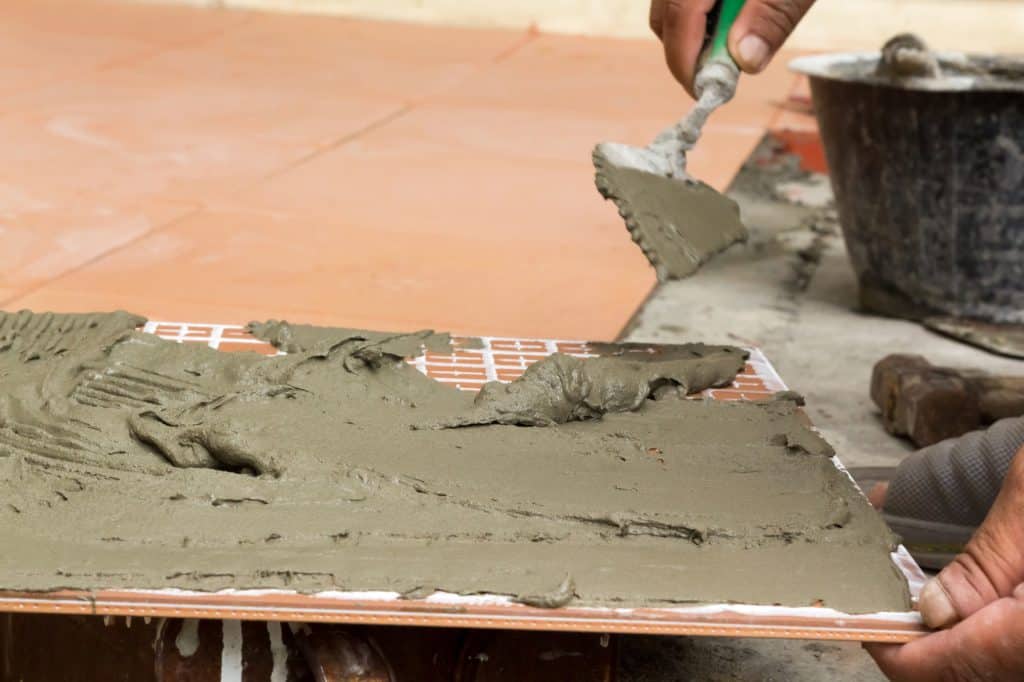
The white (most of the times) compound you use to stick tiles on the wall or floor is what we refer to as tile adhesive. There are countless brands of tile adhesive out there, some boasting better adhesion, some being eco-friendlier, and more, but in essence, every adhesive is the same. The goal is not only to make sure the tile sticks, but also to protect the tile and wall surfaces from each other.
The terms tile adhesive and mortar are usually used interchangeably in the industry. When you say mortar in reference to tiles, it is understood that you are talking about tile adhesive. However, you should know that both of these are two separate things. Where adhesive is used to stick tiles to the wall or floor, mortar is designed to hold bricks together.
Other than adhesion and protection of surface, tile adhesives also ensure that tiles don’t end up shedding with time – either due to water ingress or simply because of temperature change. Unless you pry out a tile, adhesives don’t let go of the ceramic undersides of tiles.
Tile adhesives usually come pre-made in bags. All you need to do is add water and you’re good to go. However, you can also buy pre-mixed adhesives that come in buckets. As a general rule, you need to add 5 liters of water in a bucket of adhesive (50 pound bag). However, we recommend you add the same slowly in batches of liters to ensure that you don’t overmix.
There are some tile adhesives that take 12 to 24 hours to set, however, there are also the quick set tile adhesives that set in 45 minutes to 2 hours. We recommend going with the slow-setting adhesive unless you are absolutely sure about what you are doing.
Understanding the Size of Trowel Teeth – The Strength of Adhesive Used
When it comes to determining the best size of trowel teeth, there are several considerations to make. Size and spacing of trowel teeth have a direct bearing on the tile size. The size is basically an indicator of how much adhesive you will be left with once you spread it out.
Both the square- and U-notched tile trowels are measured in a similar manner; the width of the notch and its depth. In fact, when you go to buy a trowel, you will see that there are two figures written on the trowel. Both these figures represent the width and depth respectively.
For example, if you are using a 12mm x 10mm square-notched trowel, you will have a 12mm wide ridge every time you use the trowel to spread the adhesive, and the height of each column will be 10mm. When on an adventure to find the right square-notched trowel size, don’t be surprised when you find just one size mentioned on the unit. This simply means that both the depth and width have the same measurements.
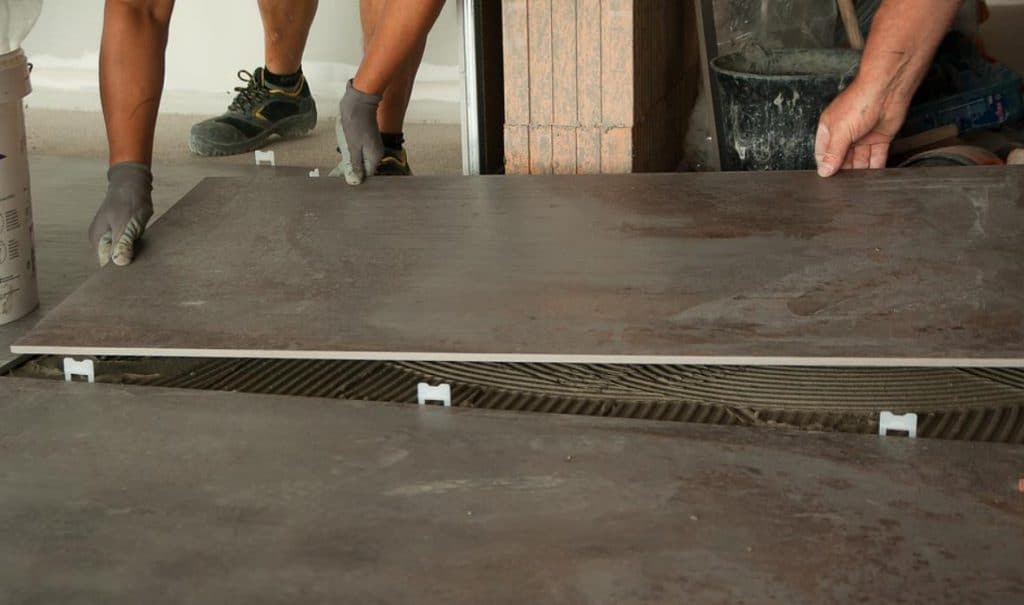
When you spread the adhesive using a u-notched trowel, you will find that the columns are half-moon shaped.
Depending on the size, you can determine how much adhesive will be left behind by the trowel as well and therefore the ‘strength’ of the adhesive. Let’s say you are using a 10mm x 10mm trowel. This will mean that the column left behind will be half of that, i.e., 5mm2 when you lay the tile on top.
Whenever you buy a tile, you can always ask the seller about the minimum thickness of adhesive bed required to give you maximum (or full) coverage. Remember, a 10mm x 10mm column will spread out as you place the tile on top. Since all of the ridges will spread out and compress down to half their size (5mm2), you will be able to fully embed the tile with maximum coverage. This is the case with square-notched trowels.
Important Note: Compression
Having said that, it is important to note that the bigger the tile, the more it will compress. Smaller tiles won’t be able to compress enough.
If you are using u-notched trowels, compression will reduce the size by 1/3 when you push a tile on top. This means that a 12mm x 12mm ridge with a u-notched trowel will give you a 4mm2 adhesive bed under your tile.
So, if you choose a 6mm square notched trowel and a 10mm u-notched trowel, you will get a 3mm2 bed underneath the tile. Which one to use then? Of course, if you are looking for a cost-effective answer, you will go with a square-notched trowel since less adhesive is being used. However, that isn’t all there is to consider.
Difference Between Square & U-Notched Trowels
The ridges you get from each trowel are more than just for aesthetics. Remember, back in the day there was no concept of spreading the adhesive – but simply pushing the tile flat on top of a dollop used to be the go-to method.
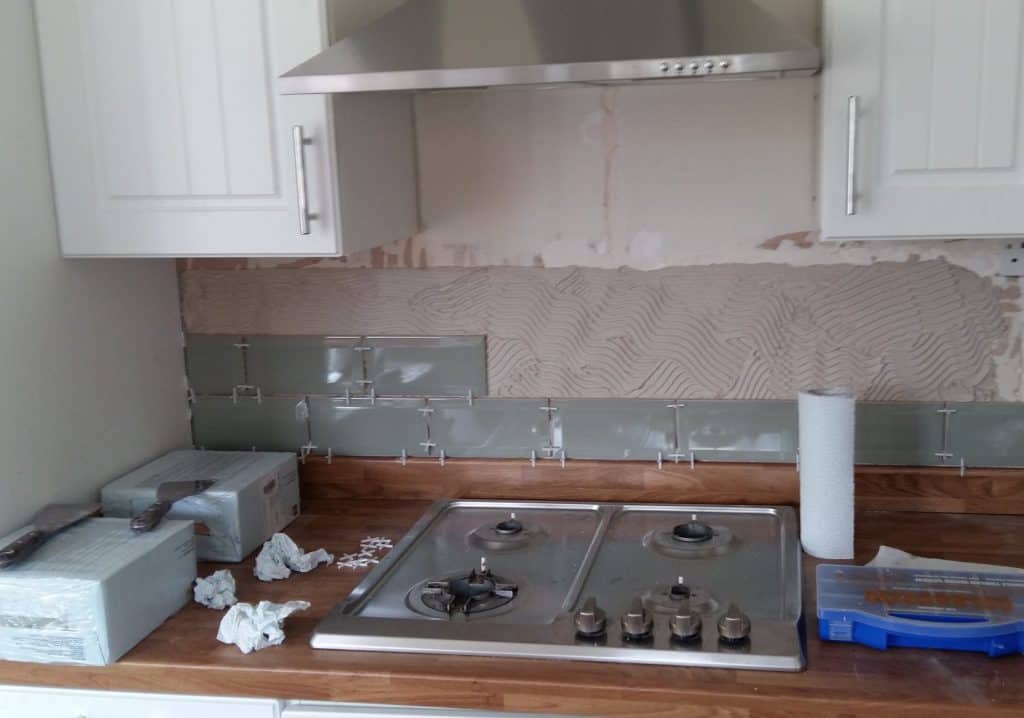
Instead, the difference is ultimately in how easily you can install a tile. It is much easier to wiggle a tile on a u-notched trowel ridge than it is on a square-notched trowel. This is because when you are installing tiles on a square ridge, you are actually compressing the adhesive. On the other hand, pushing the same on u-shaped ridges, you are collapsing ridges.
U-shaped ridges spread out and are therefore more effective at ensuring coverage – and reducing air bubbles under the tile, prolonging the life of your tile.
So, depending on where you are installing tiles, you will need to consider whether you use a square shaped trowel or a u-notched trowel. If the tiles will be exposed to heat or cold, use a u-notched trowel.
How Thick Should Tile Adhesive Be?
Now that we have a better understanding of what adhesive is and the importance of its shape, let us consider the size you should choose.
Let us first consider what experts suggest. Here is a table showing how professionals determine the size and type of trowel to use.
| Size | Type | Tile |
| 3/16” notch | Square | Mosaic tiles 4-1/2 inch glazed tiles for walls. |
| ¼” notch | Square | 4 to 8 inch tiles |
| ¼” to 3/8” | U or Square | 8 to 16 inch tiles |
| ½” | U or Square | >16 inch |
This is a general guideline, so you have a bit of freedom. We use the same scale when applying tiles. However, if you look at the company recommendations (which, we’ll be honest, we do use whenever we use a new brand), these differ slightly.
Here is what Dunlop recommends.
| Size | Tile | Coverage |
| 6-8mm U trowel | Up to 10 inch tiles (250 x 250 mm) | 0.8m2/kg |
| 10-12mm U trowel | 10 inch tiles and above (over 250 x 250 mm) | 0.5m2/kg |
This adhesive requires up to 24 hours of drying.
At the same time, here is a table showing what Dribond recommends.
| Size | Tile |
| 8mm U trowel | Up to 7 inch tiles |
| 10mm U trowel | Up to 10 inch tiles |
| 12mm U trowel | 12 inch tiles and larger |
As you can see, the recommendations differ, which means there is no cookie cutter policy on how thick tile adhesive should be. Just don’t apply too little and make sure that you press firmly enough. And most importantly, when working with your tiles, be careful and have fun! You (hopefully) get to do this just this once!