If you are a DIY-er, you are likely going to start installing, repairing, or replacing existing tiles. However, one aspect that you might find yourself stuck in is where you should use grout – and if there are any alternatives to the same.
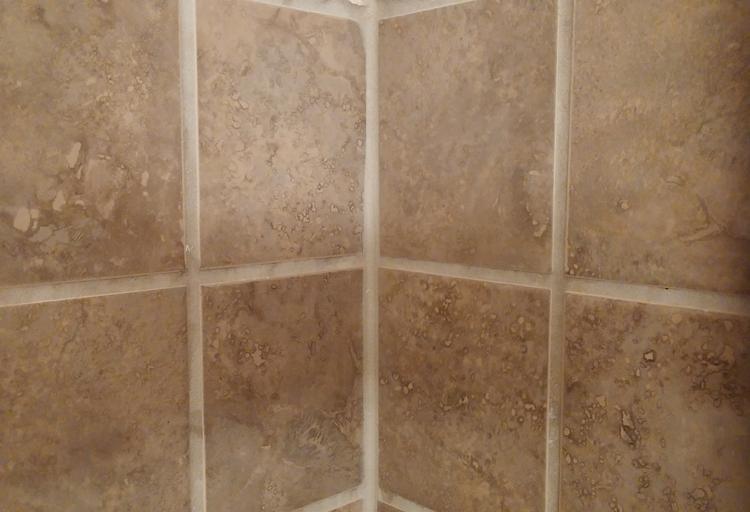
Grout is infamous for cracking due to temperature fluctuations. Although the material itself is temperature resistant, depending on where you install it can mean either a very strong filling or one that doesn’t really amount to much.
In order to help you understand where to use grout or where to go with alternatives, here is a detailed guide about all the questions a DIY-er could have about using grout. So, let’s dive in!
What Is Grout?
Before we get into the details of the same, it is important to understand that one of the most commonly used alternatives to grout is caulk (or silicone). Grout and caulk are both very different from each other and therefore serve different purposes.
Grout is a masonry product, while caulk is a waterproofing product used by masons and carpenters alike. You can find grout in powdered form in a plastic bag – or in some hardware stores you can also buy the same by the pound.
To use grout, you need to mix the powder with water. By doing so, you are basically activating its adhesive and molding properties. As the water dries up, the grout particles adhere to each other and therefore form a rock-hard surface.
For best results, a 3:10 water to grout ratio is recommended, i.e., for every 10 cups of grout, add 3 cups of water. We recommend that you add water slowly into the grout and mix it thoroughly before adding more to avoid leaving unmixed particles. Grout does have a tendency to form lumps.
To remember the difference between grout and caulk better, remember that grout fills joints between similar surfaces while caulk fills seams between tiles and fixtures (unlike surfaces).
Different Types of Grout
If you go out to a local hardware shop, chances are that you will find just one type of grout; cement-based grout. However, if you go to hardware stores such as home depot, you will find that there are two other types as well:
- Cement Based Grout. This type of grout may be available with or without latex and is perhaps the most commonly used type out there. This grout is very easy to make and use. For smaller joints, you need un-sanded grout, i.e., where sand is not mixed with the original grout, but if you are going to use the same for gaps larger than an eighth of an inch, you will need to use sanded grout.
- Epoxy Grout. This is a rather expensive type of grout and is epoxy-based. It requires you to mix two parts together with solids and color additives. This type of grout is usually used in commercial projects, so you as a DIY-er might not find much use of the same. This grout is relatively harder to install and is therefore labor intensive. If you are grouting for the first time, we do not recommend you go with this option, considering it can be really hard to remove.
- Urethane Grout. This is another very expensive type of grout which needs to be mixed in the bucket. To clean it off, you need a dry sponge or piece of cloth. The grout is clear and takes up to 7 days to cure.
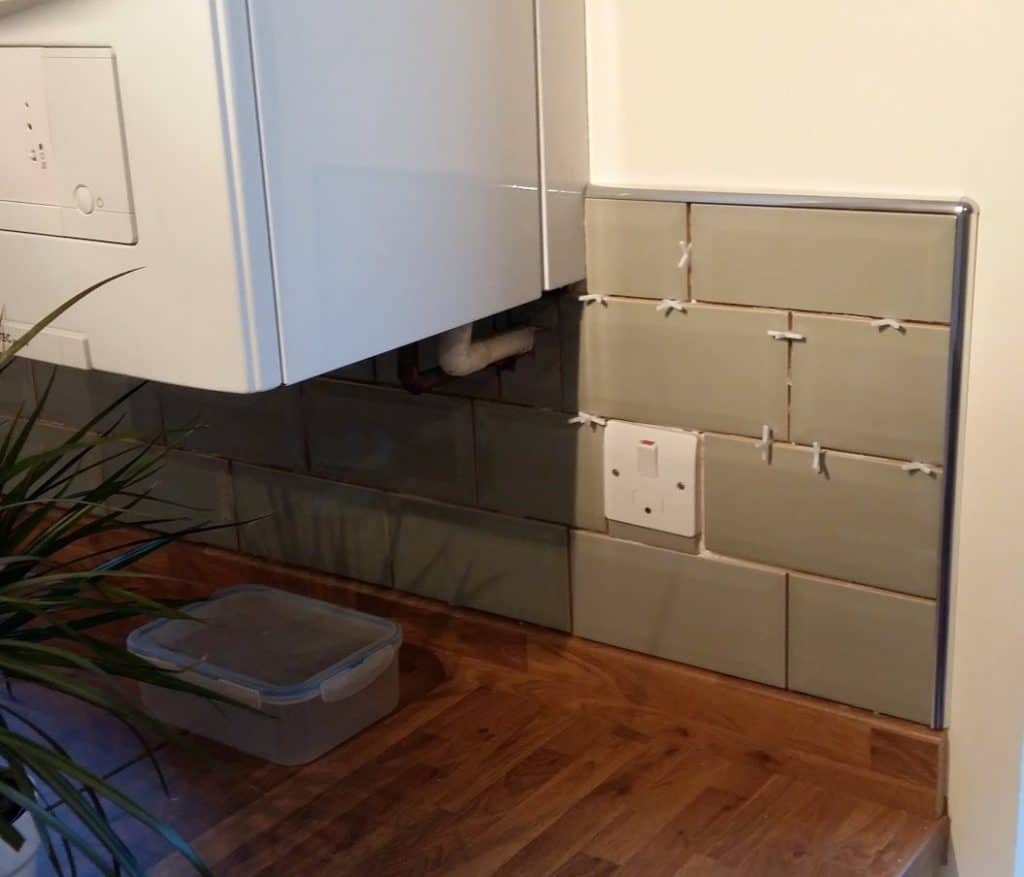
Do You Grout Between Tile and Kitchen Cabinets?
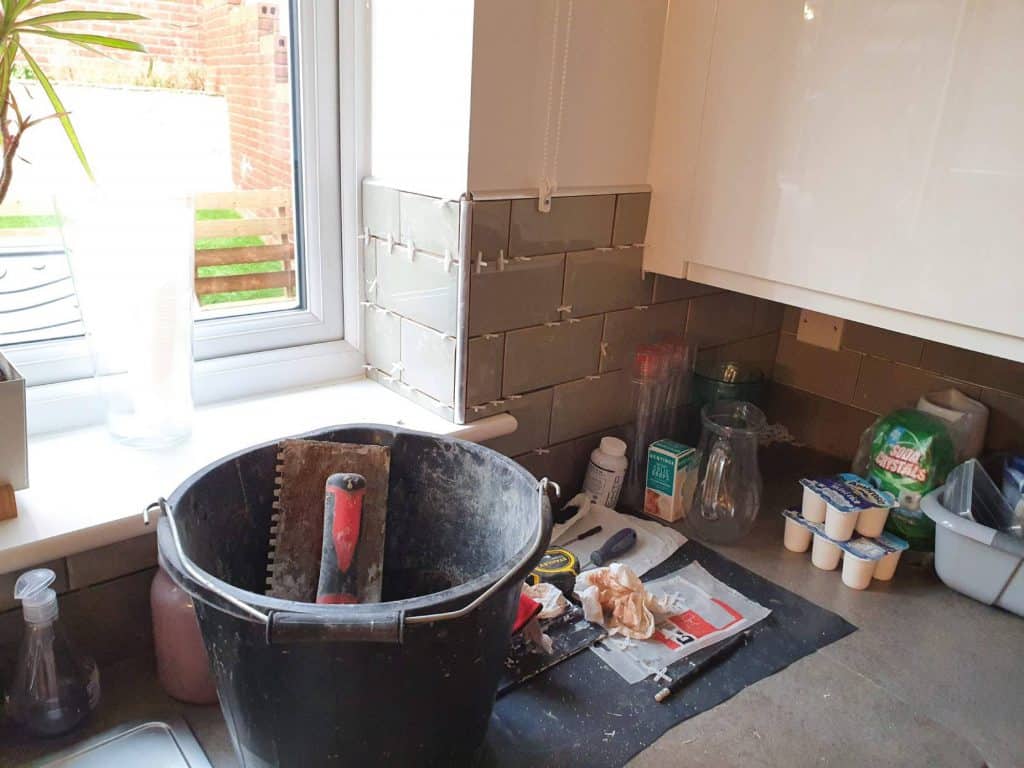
We recently discussed how you can tile around kitchen cabinets and how to apply grout after you’ve let it dry. However, a question here is whether grout is the best material to be applied between tiles and around kitchen cabinets.
The thing about grout is that temperature fluctuations don’t necessarily have much of a bearing on it, but as temperatures change, you are going to start seeing cracks because of the contraction and expansion of the cabinets around.
This means that you CAN use grout between tiles and kitchen cabinets, but caulk or silicone would actually fare better here. If you must use grout, the best one to be used is urethane grout. However, you will have to wait 7 days for the grout to settle after that. Oh, and remember to set your cabinets before doing that.
When looking to apply grout under cabinets, you will find that the response varies from professional to professional. There are no industry standards or codes that ask you not to do the same or do it. Instead, the answer depends on whether or not the cabinets installed are of a material subject to expansion and contraction (which it almost always is, unless you live in a mud house).
When it comes to grouting between tiles and a countertop, on the other hand, the answer becomes a bit more complicated. This also depends on whether your countertop is ‘free’ or not, i.e., whether it’s attached to the wall or not and the material that is used.
If it is a wooden countertop, applying grout isn’t really a very good idea. If your countertop is marble, on the other hand – and that too, if it is attached to the wall – you can get away with using grout since it won’t really move that much.
Do You Grout the Top of a Backsplash?
Whether you have repaired or installed a new backsplash, you will have to do something with its top, right? Otherwise you are basically leaving a gap between the wall itself and the tiles, inviting insects and even mold, if water gets in.
Instinct would suggest adding some grout between the wall and backsplash, and instinct would be right – provided the splash isn’t near your refrigerator or the stove, i.e., anywhere the temperature would fluctuate and lead to expansion and contraction.
In that case, latex caulk would be best, or if you must use grout, go with epoxy or urethane grout.
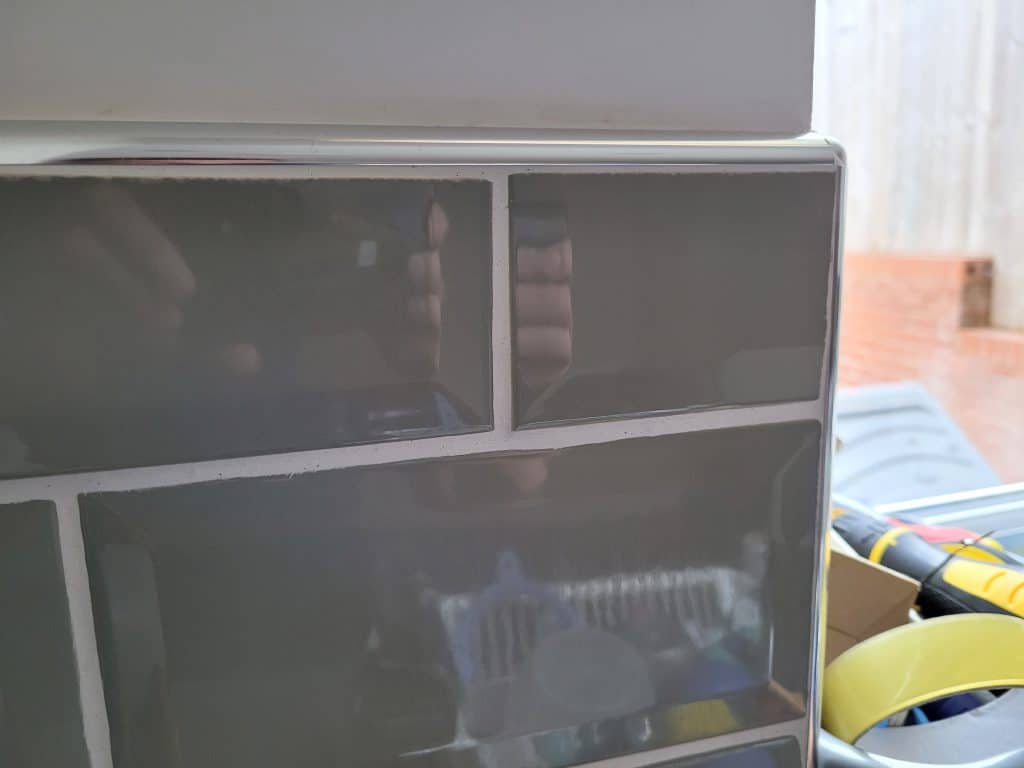
Do You Grout Between Tiles & Trim?
One of the biggest issues even seasoned contractors face is when finishing the inside corners on wall tile installations and when trimming. Whenever there is a corner, installers will have two options; tiling the corner to its brim and setting it up right against an adjacent tile or cutting the same and creating a grout line on the corner.
The former is known as trimming, and there are a lot of options available when it comes to trimming a tile. Trimming is much more common, considering the fact that tile corners are often sharp and may end up chipping due to use or hurt someone.
However, there is a problem; the grout line you install when trimming, interrupts the flow of tiles and can be visually unappealing if not done right. If left untrimmed, water ingress might be a problem.
To deal with that, contractors often butt trims up to the tiles using grout. Here, a bead of caulk or silicon might not do the trick since it tends to shrink in size over time and therefore has to be replaced. No matter how flush the fitting was when you initially did it, over time, it will erode and create room, becoming even more visually unappealing.
So, when trimming, it is a good idea to use grout between tiles and trim:
Having said that, there are also several trimming options you can go with. These include using pre-built tile edges, also known as trim profiles. You can find these in ceramic, metal, plastic, and even wood (bad idea).
The one you use should reflect the make of your tiles or simply that of your kitchen.
Ceramic tile edges or trim profiles give off a finished square edge but are more commonly used to make a larger, bull-nose edge. The design was common in the 80’s and has started to die down. These are relatively more expensive options and use normal tile mortar for application.
Then there are the metal and plastic tile edge trim profiles. These come in a variety of shapes, sizes, and colors and are much more common. Metal profiles are relatively more common, though, since plastic trims usually end up getting roughed up during cleaning.
These trims are much more cost-effective and again, use grout for application.
Do You Grout Between Tile & Ceiling?
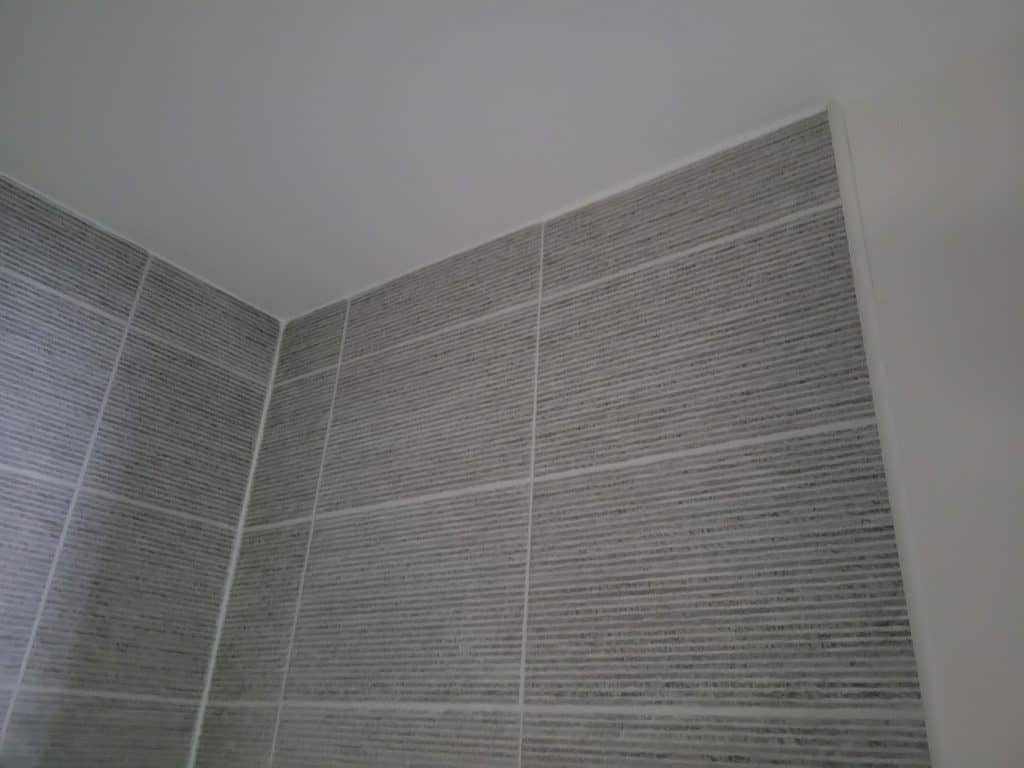
When creating a joint between the tile and ceiling, it is up to you to use either grout or caulk. If you use grout, it will automatically use the tiles as the base. If you use caulk, the ceiling will become the base. However, keep in mind that if you use caulk, you will have to replace it in 2-3 years. Not only will the caulk become yellowish with small, black lines on it, it will begin shrinking.
Epoxy or urethane grout will actually be very suitable for grouting between tiles and ceiling. Personally, we have used grout, silicone, and painter’s caulk between the tiles and ceiling and haven’t really faced issues yet, except maintenance.
Just make sure you cut the caulk or grout as accurately as possible. Inaccuracies won’t lead to any structural issues; only aesthetic ones at best. It is also important to remember here that you can’t paint over silicone, and it generally has a translucent or bone-white color. That is why painter’s caulk or grout may actually be a much better option.
Do You Grout Between Tile & the Bath or Shower Tray?
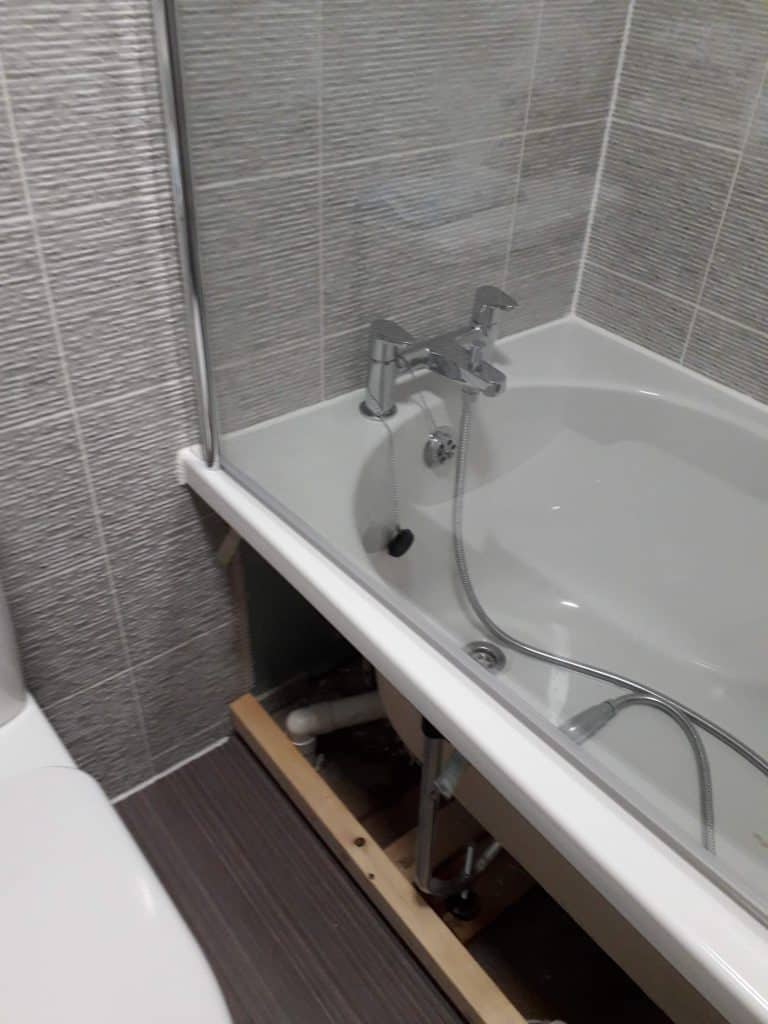
If you are grouting between tiles and bath/shower trays, you are likely looking to create a water tight seal around it, right? Grout really won’t do you any good in such a case, unless you use the more expensive options. But if you consider the curing time and the placement (it’s your shower, after all, so you can’t really afford to wait that long), silicone is actually a much better option here.
You may have to order a custom silicone tube or simply take your time searching for a store that has a color that meets your needs. Silicone will provide you with the water sealing capabilities you are after, but remember that you will have to replace the same after a while.
Since water will touch the seal quite often, you will find that it turns black after a while and can therefore ruin your bathroom’s aesthetic appeal. However, this is the lesser of two (or three) evils when compared to grout and caulk.
Not only will silicone help you seal the tray, it is also flexible enough to take your weigh without developing cracks.
Do You Grout Between Tile & Wall/Floor?
If you are looking to fill wall and floor joints, you can’t go wrong with grout. Since there are going to be tiles at both ends of the grout, there is little to no chance that the same will develop cracks. However, there is one small issue; if you are looking to seal the joints for your bathroom; grout won’t really do much to make sure it is waterproof.
For bathrooms, consider using silicone caulk or epoxy grout.
The same is applicable if you are sealing the space around your kitchen sink. When using grout, caulk, or silicone, be prepared to deal with the mess. You will have to cut the caulk or silicone, which you will then have to peel off. When using grout, remember to keep cleaning the tiles to ensure they don’t get discolored.
And most importantly; have fun!