Welcome, DIY enthusiasts and aspiring electricians! If you’ve ever found yourself baffled by the concept of a 3-way switch or overwhelmed by the complexity of wiring, fear not. In this blog post, we will unravel the mysteries of how to wire the 3-way switch and guide you through the process of wiring it using 14-2 Romex cable.
3-way switches are an essential component of modern electrical systems, offering convenience and flexibility by allowing you to control a single light or a group of lights from two or more different locations.
Whether you’re looking to enhance the functionality of your home or embark on an electrical project, understanding how to wire a 3-way switch is a valuable skill to possess.
While the task might seem daunting at first, we’re here to simplify the process for you.
By utilizing 14-2 Romex, a common type of electrical cable consisting of black, white, and bare copper wire, we’ll demonstrate step-by-step instructions that will empower you to tackle this wiring project with confidence.
Understanding the Basics: What is a 3-Way Switch?

Before diving into the intricacies of wiring a 3-way switch, it’s crucial to grasp the fundamental concept behind this essential component of modern electrical systems.
A 3-way switch controls lights from multiple locations, providing convenient and flexible lighting control.
It provides convenience and flexibility, enabling you to turn lights on or off from multiple entry points in your home, such as at the top and bottom of a staircase or on opposite ends of a long hallway.
Unlike a standard single-pole switch, which has only two positions (on and off), a 3-way switch introduces a third position, often referred to as the “intermediate” position.
This intermediate position allows you to control the lights from either of the two switches, regardless of their current state.
Whether you want to turn the lights on as you enter a room or shut them off before heading to bed, the 3-way switch empowers you with convenient lighting control options.
It’s important to note that the 3-way switch itself doesn’t dictate the physical locations of the switches; rather, it enables electrical connections that facilitate communication between the switches.
By understanding the underlying principles of how a 3-way switch functions and knowing how to wire it correctly, you can unlock a new level of control and convenience over your home’s lighting system.
In the following sections, we’ll delve into the step-by-step process of wiring a 3-way switch using 14-2 Romex cable, equipping you with the knowledge and confidence to tackle this electrical project successfully.
Tools and Materials: Gathering Your Wiring Arsenal

Before embarking on your 3-way switch wiring project, it’s important to gather the necessary tools and materials.
Having the right equipment at hand will make the process smoother and more efficient. Here’s a list of essential tools and materials you’ll need:
Voltage tester: A device used to ensure that the power is turned off before working on the electrical circuit. It helps detect the presence of live wires and prevent accidents.
Screwdrivers: Both flathead and Phillips screwdrivers will come in handy for removing switch plates, securing wires, and attaching switches to electrical boxes.
Wire strippers: Specialized wire stripping tools expose conductive copper by cleanly removing insulation from the wires.
Needle-nose pliers: Useful for bending and shaping wires, these pliers have a long, narrow nose that provides a firm grip in tight spaces.
Wire connectors: Also known as wire nuts, these are used to secure and connect wires together. Opt for high-quality, properly sized wire connectors to ensure reliable connections.
Electrical tape: A crucial component for insulating and protecting exposed wires, electrical tape helps prevent accidental contact and electrical shorts.
14-2 Romex cable: This type of electrical cable consists of three wires: a black (hot) wire, a white (neutral) wire, and a bare copper (ground) wire. Ensure you have the appropriate length of 14-2 Romex cable for your wiring project.
3-way switches: Purchase two 3-way switches to enable the multi-location control of your lights. Select switches from a reputable brand that meet safety and quality standards.
Wire staples or cable clamps: These are used to secure the Romex cable to the framing or electrical boxes, keeping the wiring neat and organized.
Voltage tester pen or non-contact voltage tester: An alternative to the traditional voltage tester, these tools can quickly detect the presence of live wires without direct contact.
By gathering these tools and materials before you begin, you’ll be well-prepared to tackle the wiring process and ensure a successful installation of your 3-way switch system.
Remember to prioritize safety at all times, and let’s move on to the next steps in our wiring journey.
Safety First: Precautions and Protocols
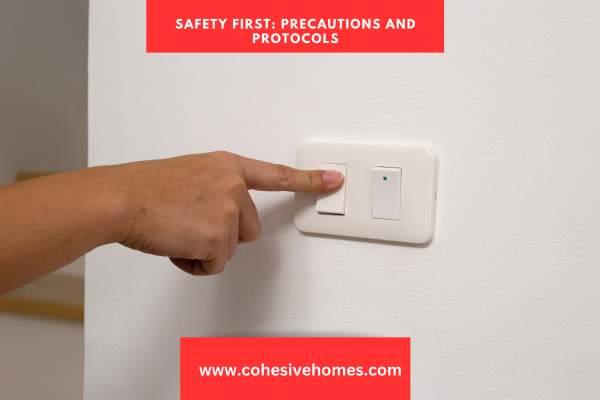
When working with electricity, prioritizing safety is paramount. Follow safety precautions and protocols when undertaking electrical projects like wiring a 3-way switch with 14-2 Romex. Here are some essential safety measures to keep in mind:
Turn off the power
Before you start any electrical work, turn off the power to the circuit you’ll be working on. Locate the correct circuit breaker in your electrical panel and switch it off. To ensure complete safety, use a voltage tester to verify that the power is indeed off before proceeding.
Wear appropriate safety gear
Protect yourself by wearing safety goggles to shield your eyes from potential sparks or debris. Additionally, consider wearing insulated gloves and non-conductive footwear to minimize the risk of electric shock.
Read and follow instructions
Familiarize yourself with the manufacturer’s instructions for the 3-way switches and other electrical components you’ll be using. Adhere to the recommended wiring techniques and guidelines to ensure proper installation.
Avoid contact with live wires
Always assume that wires are live until verified otherwise. Never touch exposed wires with your bare hands or any conductive objects. Use insulated tools and exercise caution to prevent electrical shocks.
Check for damaged wires
Inspect the Romex cable for damage like frayed or exposed wires before proceeding with the wiring. If you notice any issues, replace the damaged section of the cable before continuing.
Secure connections properly
When connecting wires together, ensure they are firmly and securely fastened using wire connectors. Loose connections can lead to electrical hazards, so take the time to make tight and reliable connections.
Properly ground the switches
Ensure that the switches are properly grounded by connecting the bare copper wire (ground wire) to the designated grounding terminal on each switch. Grounding provides an additional layer of safety and helps protect against electrical faults.
Test the circuit before finalizing
Once the wiring is complete, turn the power back on and test the circuit to ensure proper functionality. Double-check that the switches control the lights as intended and troubleshoot any issues promptly.
Remember, if you feel uncertain or uncomfortable about any aspect of the wiring process, it’s advisable to consult a licensed electrician. Safety should always be the top priority when dealing with electricity. By following these safety precautions and protocols, you can mitigate risks and ensure a secure and successful wiring project.
Planning the Wiring Layout: Mapping Out Your Switch Locations

Before embarking on the wiring process, it’s essential to carefully plan and map out the locations for your 3-way switches.
This step allows you to visualize where the switches will be installed and how they will function in controlling the lights.
To begin, identify the desired switch locations based on your specific needs and preferences.
Common scenarios include controlling lights from both ends of a hallway, the top and bottom of a staircase, or different entry points to a room.
Once you have determined the switch locations, it’s helpful to sketch out a wiring diagram on paper or using a digital tool.
Mark the electrical boxes where the switches will be installed, using symbols or labels to represent the switches, lights, and electrical boxes.
By doing so, you can visualize the layout and connections more effectively. Consider the path the wiring will take from the first switch to the light fixture and then to the second switch.
This will help you understand how the switches will be connected and the wiring route required.
Measure the distances between the switch locations and the light fixture to determine the length of 14-2 Romex cable needed.
Take into account any obstacles, such as walls or ceilings, that may require you to route the cable through conduits or drill holes.
It’s also crucial to consider local electrical codes and regulations to ensure compliance.
Familiarize yourself with requirements regarding switch placement, wiring types, and safety measures.
Evaluate the existing wiring conditions, ensuring that there is enough space in the electrical boxes to accommodate additional wires and connectors.
If needed, consider upgrading the boxes for better wire management.
Finally, double-check that the switches you have chosen are compatible with 3-way wiring and meet any specific requirements.
By meticulously planning the switch locations and wiring layout, you’ll have a clear roadmap for the installation process.
This careful planning minimizes mistakes, ensures efficient wiring, and sets the stage for a successful 3-way switch project.
Wiring Step 1: Identifying and Preparing the Power Source

In this step, you’ll locate and prepare the power source for your 3-way switch wiring. Identify the circuit breaker that controls the power to the area where you’ll be installing the switches.
Turn off the power to the circuit and use a voltage tester to ensure it’s completely de-energized. Once confirmed, remove the switch cover plate and the existing single-pole switch.
Verify that the electrical box is suitable for accommodating the new 3-way switch, and ensure proper grounding.
Connect the black (hot) wire from the power source to the common screw terminal on the first 3-way switch, the white (neutral) wire to the neutral terminal, and the bare copper (ground) wire to the grounding screw.
Finally, secure the switch in the electrical box, replace the cover plate, and proceed to the next step.
Wiring Step 2: Installing the First 3-Way Switch
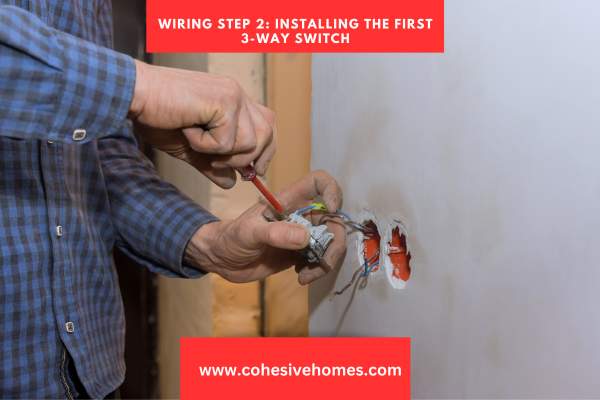
In this step, you’ll install the first 3-way switch that will control the lights. Determine the desired location for the switch and mark the position accordingly.
Run a 14-2 Romex cable from the electrical box of the first switch to the electrical box of the light fixture.
Connect the black wire from the Romex cable to the common screw terminal on the first switch, the white wire to the neutral terminal (if applicable), and the bare copper wire to the grounding screw.
Secure the switch in the electrical box, making sure the wiring is neatly arranged, and attach the switch cover plate.
Wiring Step 3: Extending the Wiring with 14-2 Romex
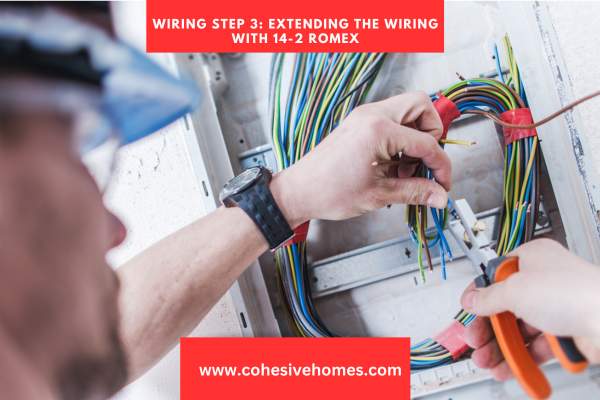
In this step, you’ll extend the wiring using 14-2 Romex cable to connect the first 3-way switch to the second switch.
Run another length of 14-2 Romex cable from the electrical box of the first switch to the electrical box of the second switch.
Connect the black wire from the Romex cable to the common screw terminal on the first switch.
On the second switch, connect the black wire from the Romex cable to the common screw terminal as well.
Connect the white wires from both Romex cables together with a wire connector.
Connect the bare copper wires to the grounding screws on both switches.
Ensure the wiring is secure and properly insulated within the electrical boxes.
Wiring Step 4: Installing the Second 3-Way Switch
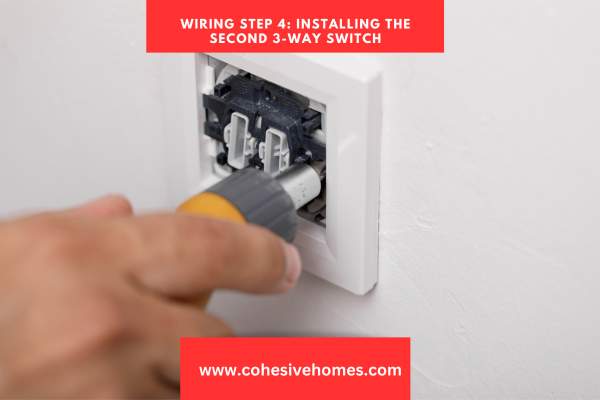
In this final step, you’ll install the second 3-way switch that will work in conjunction with the first switch to control the lights.
Determine the desired location for the second switch and mark the position.
Connect the black wire from the Romex cable coming from the first switch to the common screw terminal on the second switch.
Attach the white wire from the Romex cable to the neutral terminal (if applicable) and the bare copper wire to the grounding screw.
Secure the second switch in the electrical box and install the switch cover plate.
By following these wiring steps, you’ll have successfully installed a 3-way switch system using 14-2 Romex cable.
Remember to double-check your connections, secure the wiring within the electrical boxes, and ensure proper grounding for a safe and functional installation.
Testing and Troubleshooting: Ensuring Proper Functionality
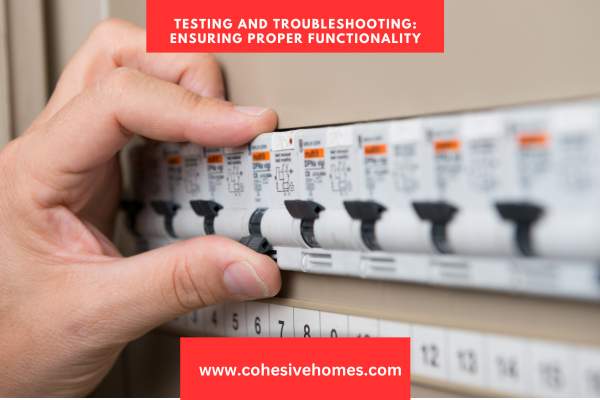
After completing the wiring process for your 3-way switch system, it’s crucial to thoroughly test and troubleshoot the installation to ensure proper functionality. Here are the steps to follow:
- Turn on the power: Restore power to the circuit by flipping the circuit breaker back to the “on” position. Exercise caution during this step and be aware of any potential hazards.
- Test the switches: Start by testing the switches individually. Turn on the first switch and verify that it controls the lights as intended. Then, turn off the first switch and turn on the second switch to check if it also controls the lights correctly. Pay attention to any flickering or inconsistent behavior.
- Check the intermediate position: The intermediate position of the 3-way switch allows you to control the lights from either switch, regardless of their previous state. Toggle the switches back and forth while observing the lights. Ensure that the lights respond accordingly and that the switches effectively communicate with each other.
- Verify proper wiring connections: Carefully inspect all the wiring connections in the electrical boxes. Check that all wire connectors are securely fastened and that there are no loose or exposed wires. Verify that the black (hot) wire is connected to the common screw terminal on each switch, the white (neutral) wires are connected together, and the bare copper (ground) wires are properly grounded.
- Troubleshoot issues: If you encounter any issues during testing, it’s essential to troubleshoot them promptly. Start by double-checking your wiring connections, ensuring they match the appropriate terminals on the switches. Use a voltage tester to confirm the presence of power at each switch and light fixture. Inspect the Romex cable for any signs of damage or loose connections.
- Seek professional assistance if needed: If troubleshooting doesn’t resolve the issues or if you’re unsure about any aspect of the installation, it’s advisable to seek assistance from a licensed electrician. They have the expertise to diagnose and address any electrical problems safely.
Conclusion
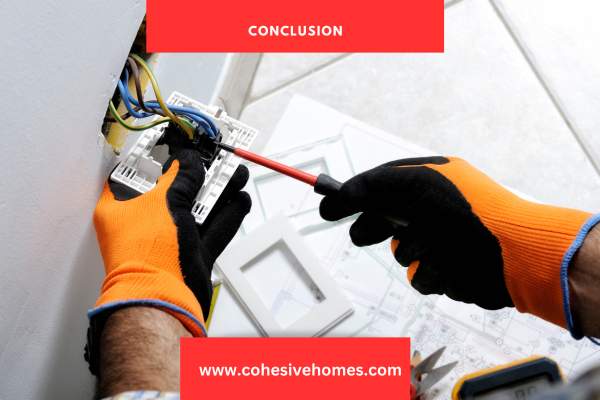
Congratulations! You have successfully completed the wiring and installation of a 3-way switch system using 14-2 Romex cable. By following the steps outlined in this guide, you have gained the knowledge and skills necessary to create multi-location control for your lights, offering convenience and flexibility in your home.
Throughout the process, you have learned about the basics of 3-way switches, gathered the essential tools and materials, prioritized safety precautions, meticulously planned the switch locations and wiring layout, and executed the wiring steps with precision.
Testing and troubleshooting have ensured that your installation functions as intended, providing you with a reliable and efficient lighting control solution.
Remember, electrical work should always be approached with caution and respect for safety.
If you encounter any doubts or encounter challenges beyond your expertise, it is recommended that you consult a licensed electrician for assistance.
They possess the necessary knowledge and experience to address complex electrical issues and ensure the safety of your electrical system.
By completing this project, you have not only expanded your electrical knowledge but also gained a valuable skill set that can be applied to future wiring endeavors.
Whether it’s additional 3-way switch installations or other electrical projects, your newfound understanding will serve you well.
Thank you for following along with this guide, and we hope it has been helpful in your journey to wire a 3-way switch with 14-2 Romex. Enjoy the convenience and flexibility of your new lighting control system, and always prioritize safety when working with electricity.
FAQS
Can I use a different cable instead of 14-2 Romex for 3-way switch wiring?
Check local regulations and codes, as they may dictate specific cable requirements.
What should I do if my 3-way switch-controlled lights aren’t working properly?
Double-check wiring connections, switch installation, and light fixtures. Consider consulting an electrician if issues persist.
Can I add more than two 3-way switches to my circuit?
Yes, it’s possible, but careful planning, adherence to codes, and professional guidance may be needed for a safe and compliant installation.