When working on electrical projects, you may encounter situations where connecting two Romex wires becomes necessary. Romex, a widely used type of electrical wiring, requires secure and reliable connections to ensure a safe and functional electrical system.
In this concise guide, we’ll provide you with the essential techniques and safety precautions for connecting Romex wires successfully.
Whether you’re a DIY enthusiast or a homeowner, this guide will equip you with the fundamental skills to tackle Romex wire connections confidently and efficiently.
Let’s dive in and master the art of connecting two Romex wires!
Understanding Romex Wires
What is Romex?
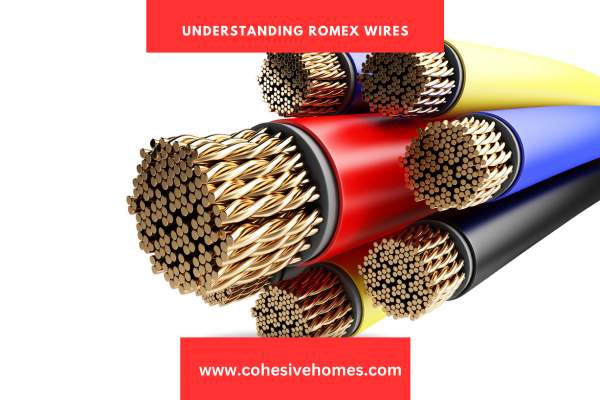
Romex, also known as non-metallic sheathed cable, is a popular type of electrical wiring used in residential and commercial applications.
It consists of two or more insulated conductors, typically made of copper, enclosed in a flexible plastic jacket.
The conductors have color-coded identification, with black commonly used for hot wires, white for neutral wires, and bare copper or green for ground wires.
Romex wires safely carry electrical currents and people commonly use them for a variety of electrical installations, including outlets, switches, lighting fixtures, and more.
They are available in different gauges to accommodate various electrical loads and applications.
Importance of Proper Connections
Making proper connections between Romex wires is crucial for ensuring a safe and reliable electrical system.
Secure connections guarantee a continuous flow of electricity without interruptions, preventing electrical hazards such as short circuits, power surges, or electrical fires.
Improperly connected Romex wires can lead to loose connections, which can generate heat, create sparks, and potentially damage the wires or connected devices.
Inadequate connections can also result in voltage fluctuations, poor electrical performance, or even pose a safety risk to individuals working on or using the electrical system.
Understanding the correct techniques and following safety protocols when connecting Romex wires is essential to maintain the integrity and efficiency of your electrical installations.
Safety Precautions When Connecting Two Romex Wires
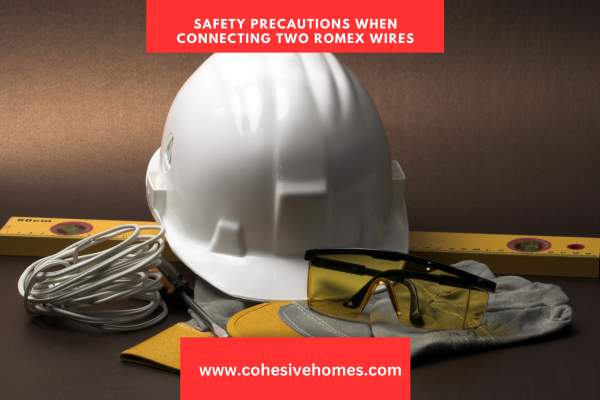
Always turn off the power supply to the circuit you’ll be working on at the main breaker or fuse box.
This ensures that you won’t be exposed to live electrical currents while making the connections.
Use a voltage tester to verify that the power is indeed off before handling any wires. This precaution helps prevent accidental electric shocks.
Necessary Tools and Equipment
- Safety Gear: Wear appropriate personal protective equipment (PPE) such as insulated gloves, safety glasses, and a dust mask to protect yourself from potential hazards.
- Insulated Tools: Use insulated tools specifically designed for electrical work to reduce the risk of electrical shock. These tools have handles made of non-conductive materials.
- Wire Strippers: Invest in a quality pair of wire strippers to safely remove the insulation from the Romex wires without damaging the conductors.
- Wire Connectors: Choose the right type and size of wire connectors suitable for joining Romex wires. Common options include wire nuts, push-in connectors, or crimp connectors.
- Electrical Tape: Use electrical tape to secure wire connections and provide additional insulation.
- Wire Cutter: Have a wire cutter or wire snips handy to trim the Romex wires to the desired length.
You can reduce the possibility of mishaps or injuries when working with Romex wires by observing these safety procedures and employing the proper equipment.
Keep in mind that only those with the required training and experience should handle electrical work. Always seek the advice of a certified electrician.
Step-by-Step Process Joining The Romex Wires
Identifying Wire Color Codes
Understand the color coding: Familiarize yourself with the standard color codes for Romex wires. Black wires are typically used for hot or live connections, white wires for neutral connections, and bare copper or green wires for grounding.
Verify wire identification: Double-check the color-coded insulation on the Romex wires to ensure you correctly identify each wire’s purpose before making any connections.
Stripping the Insulation
Measure and mark: Determine the length of insulation that needs to be removed from the Romex wires. Use a measuring tape and mark the desired length using a pen or marker.
Strip the insulation: Utilizing wire strippers, align the marked length with the stripping slot that matches the Romex wire gauge. Gently squeeze the handles to cut through the insulation, then pull the strippers towards the end of the wire to remove the insulation completely.
Making the Connection
Prepare the wires: After stripping the insulation, ensure that the exposed conductors are clean and free from any frayed or damaged strands. Trim them if necessary.
Twist the wires: Take the wires you want to connect together, whether it’s two hot wires, two neutral wires, or a combination of both. Twist the corresponding conductors tightly together in a clockwise direction using your fingers or pliers. This creates a secure and reliable connection.
Securing the Connection
Select the appropriate connector: Choose the right type and size of wire connector based on the number and gauge of the Romex wires you are joining. Common options include wire nuts, push-in connectors, or crimp connectors.
Connect the wires: Follow the manufacturer’s instructions for the selected connector. Typically, you’ll insert the twisted wire ends into the connector and firmly tighten or secure it according to the connector’s specifications.
Insulate the connection: Wrap electrical tape around the connector and the wire insulation adjacent to the connection. This helps provide additional insulation, stability, and protection to the connection.
By carefully following these step-by-step instructions, you can confidently connect two Romex wires together, ensuring a secure and reliable electrical connection.
Choosing the Right Connectors

When it comes to connecting Romex wires, selecting the appropriate connectors is essential for establishing secure and reliable electrical connections. Here are three commonly used connector options:
Wire Nuts: Wire nuts, also known as twist-on connectors, are versatile and widely used for joining Romex wires.
They come in various sizes to accommodate different wire gauges and quantities. To use a wire nut, insert the twisted wire ends into the connector and twist the nut clockwise until you snugly secure it.
Ensure that you fully insert all wires and that the wire nut covers the exposed conductors completely. Wire nuts often come with built-in insulation or gel-filled caps, providing electrical insulation and protecting the connection against moisture and contaminants.
Push-In Connectors: Push-in connectors, also known as push-in wire connectors or stab-in connectors, offer a quick and convenient option for connecting Romex wires.
With push-in connectors, you simply strip the Romex wires, insert them into the designated slots or openings in the connector, and the connection is made automatically.
Unlike wire nuts, push-in connectors eliminate the need for twisting the wires together, saving time and effort.
However, ensuring that you fully insert the wires and securely hold them in place within the connector is important.
Crimp Connectors: Crimp connectors, also called crimp sleeves or butt connectors, provide a reliable and permanent connection for Romex wires.
They are commonly used for larger gauge wires or when a more robust connection is required.
To use a crimp connector, strip the Romex wires, insert them into the connector, and use a crimping tool to compress the connector onto the wires, creating a tight and secure bond.
Crimp connectors offer excellent durability and ensure a long-lasting connection.
Consider wire gauge, number of wires, and project requirements when choosing connectors for Romex wire connections.
Testing and Inspecting the Connection
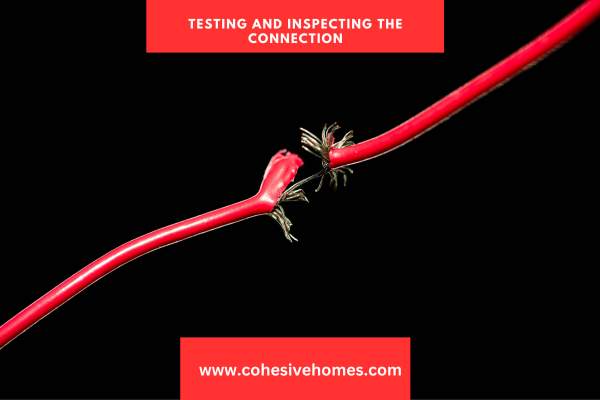
Once you have made the connections between the Romex wires, it is crucial to test and inspect the connection to ensure its reliability and safety.
There are two primary methods to verify the quality of the connection:
To verify continuity and electrical functionality, turn on the power to the circuit and use a multimeter set to the continuity or resistance mode.
Touch the multimeter probes to the respective connection points or terminals and check for a continuous circuit and low resistance.
If the multimeter shows an open circuit or high resistance, double-check the connections, ensuring you properly twist, securely connect, and insulate them.
If necessary, redo the connection or seek professional assistance.
In addition to testing, conduct a thorough visual inspection of the connection. Examine the connection point to ensure it is secure, properly insulated, and free from any exposed conductors or loose wires.
Check for signs of damage, such as frayed wires or loose connectors. Confirm that the insulation covers the entire connection, with no exposed conductors.
Also, ensure that any strain relief devices, such as cable clamps or connectors, are properly installed to prevent tension or stress on the wires.
Neatly organize the wires and any excess lengths, securely fastening them and keeping them clear of potential interference or contact with other components or structures.
By testing for continuity and conducting a visual inspection, you can verify the integrity of the connection between the Romex wires.
This process helps identify any issues or potential hazards, allowing you to make any necessary corrections and ensure a safe and reliable electrical system.
If you are uncertain about the testing or inspection process or encounter concerns during evaluation, it is recommended to seek the assistance of a licensed electrician for further guidance and expertise.
Conclusion
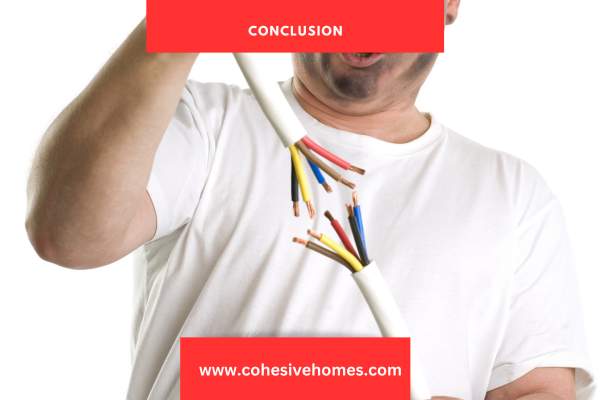
Connecting two Romex wires together requires proper techniques, safety precautions, and the right choice of connectors.
By understanding Romex wiring, following safety guidelines, and using the appropriate tools, you can successfully join Romex wires for a secure electrical connection.
Remember to identify wire color codes, strip the insulation carefully, make the connection using twisting or connector methods, and secure the connection with suitable wire nuts, push-in connectors, or crimp connectors.
Afterward, it is essential to test the continuity and conduct a visual inspection to ensure a reliable and safe connection.
By following these steps and adhering to electrical codes, you can confidently connect Romex wires and contribute to the integrity and efficiency of your electrical system.
However, if you’re uncertain or dealing with complex systems, it’s always advisable to consult a licensed electrician for professional assistance.
FAQS
Can I connect Romex wires of different gauges together?
It is not recommended to connect Romex wires of different gauges together, as it can lead to improper electrical conductivity and safety risks.
Do I need to use wire connectors when joining Romex wires?
Yes, using appropriate wire connectors is crucial for a secure and reliable connection, protecting the conductors and ensuring proper insulation.
Can I reuse wire nuts or other connectors for Romex wire connections?
It is generally not recommended to reuse wire nuts or connectors for Romex wire connections due to potential wear, damage, and compromised performance.