In today’s modern world, electricity plays a vital role in powering our homes and workplaces. Whether you’re an avid DIY enthusiast or a seasoned electrician, understanding the fundamentals of electrical connections is essential for any project involving wiring. One such connection method that frequently arises is splicing Romex cables.
Romex, also known as NM (non-metallic) cable, is a popular choice for residential and commercial electrical installations due to its versatility and ease of use. However, situations may arise where you need to extend or repair existing wiring, and knowing how to splice Romex becomes invaluable.
In this blog post, we will delve into the art of splicing Romex, equipping you with the knowledge and skills necessary to handle electrical connections with confidence.
We will explore the tools required, the different types of Romex splices, and the step-by-step process to ensure a safe and reliable connection.
Understanding Romex Cable and Splicing
What is Romex Cable?
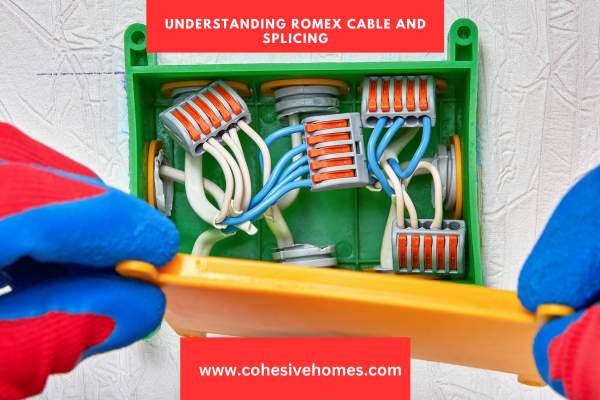
Romex cable, also known as NM (non-metallic) cable, is a type of electrical wiring commonly used in residential and commercial settings.
It consists of two or more insulated conductors (typically colored) and a bare copper ground wire, all encased within a plastic sheath.
The sheathing provides protection and insulation for the conductors, making Romex cable a popular choice for indoor electrical installations.
Romex cables come in various sizes or gauges, with the most common types being 14, 12, and 10 gauge.
The gauge refers to the diameter of the wire and determines its current-carrying capacity.
It’s crucial to use the appropriate gauge for the intended electrical load to ensure safety and prevent overheating.
The Need for Splicing Romex
Splicing Romex cables becomes necessary in various situations, such as extending an existing electrical circuit or repairing a damaged section of wiring.
Splicing allows you to connect two or more Romex cables together, creating a continuous electrical pathway without the need for junction boxes or separate circuits.
Proper Romex splicing is crucial for maintaining electrical integrity, preventing voltage drops, and ensuring the safety and efficiency of the electrical system.
It is essential to follow appropriate splicing techniques and adhere to electrical codes to avoid hazards like electrical fires or electrical shocks.
Importance of Proper Splicing Techniques
Using correct splicing techniques is vital to ensure a secure and reliable electrical connection.
A well-executed splice maintains the continuity and integrity of the electrical circuit, preventing issues like loose connections, excessive heat generation, or voltage drops.
Properly spliced Romex cables also comply with electrical codes and regulations, which are in place to safeguard against potential hazards.
Following these guidelines not only ensures the safety of occupants but also helps avoid legal and insurance complications.
When planning to splice Romex cables, it is crucial to gather the necessary tools and materials, understand the different types of splices, and follow a step-by-step process that guarantees a successful connection.
By mastering the art of Romex splicing, you gain the confidence and competence to handle various electrical projects with ease and efficiency.
Essential Tools and Materials for Splicing Romex

To successfully splice Romex cables, you will need a set of essential tools and materials. Here’s a list of items you should have on hand before starting the splicing process:
| Tools and Materials | Description |
| Wire Strippers | Used to remove the outer sheathing from Romex cables. Choose the appropriate gauge for your cable. |
| Needle-Nose Pliers | Ideal for bending, shaping, and holding wires during the splicing process. |
| Wire Cutters | Used for cutting and trimming Romex cables. Diagonal cutters work well for this task. |
| Screwdrivers | Flat-head or Phillips screwdrivers are needed to secure wires and connectors in place. |
| Wire Connectors or Wire Nuts | Connectors used to join and secure the conductors of the Romex cables. Choose the right size and type for your application. |
| Electrical Tape | Provides insulation and protection for the spliced connections, reducing the risk of electrical shorts. |
| Voltage Tester | Essential for checking the presence or absence of voltage in the electrical circuit before and after splicing. |
Having these tools and materials readily available will help ensure a smooth and successful Romex splicing process. Remember to use proper safety equipment, such as gloves and safety glasses, while working with electrical connections.
Types of Romex Splices
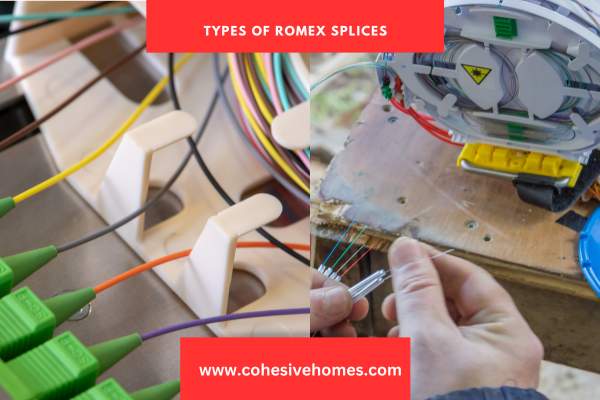
When splicing Romex cables, there are several common types of splices that you may encounter. Each type serves a specific purpose and is suitable for different scenarios. Let’s explore the main types of Romex splices:
- Inline Splice:
- Description: An inline splice involves connecting two Romex cables end-to-end, creating a continuous electrical pathway.
- Usage: Inline splices are useful when extending existing wiring or joining two sections of Romex cable.
- Procedure: Strip the outer sheathing from both ends of the cables, expose the individual conductors, and connect them using wire connectors or wire nuts. Secure the splice and insulate it with electrical tape.
- T-Splice:
- Description: A T-splice allows you to branch off a Romex cable, creating a connection to another cable or electrical device.
- Usage: T-splices are commonly used for adding outlets, switches, or fixtures to an existing electrical circuit.
- Procedure: Strip the outer sheathing of the main Romex cable and the branch cable. Connect the exposed conductors using wire connectors or wire nuts, forming a T-shaped connection. Insulate the splice with electrical tape.
- Pigtail Splice:
- Description: A pigtail splice involves creating a short extension (pigtail) from a Romex cable to connect multiple wires or devices.
- Usage: Pigtail splices are commonly used in electrical junction boxes to connect multiple switches, outlets, or fixtures.
- Procedure: Strip the outer sheathing of the Romex cable and expose the individual conductors. Connect the pigtail wire, which is an additional piece of Romex cable, to the existing wires using wire connectors or wire nuts. Insulate the splice with electrical tape.
- Splicing Different Gauge Romex Cables:
- Description: Sometimes, you may need to splice Romex cables with different gauges, such as connecting 12-gauge and 14-gauge cables.
- Usage: Splicing different gauge Romex cables is useful when transitioning between circuits with varying current requirements.
- Procedure: Strip the outer sheathing and expose the individual conductors of both cables. Connect the corresponding conductors (hot to hot, neutral to neutral, and ground to ground) using appropriate wire connectors or wire nuts. Insulate the splice with electrical tape.
It’s important to follow electrical codes and safety guidelines when performing Romex splices. Ensure that all connections are secure, properly insulated, and protected within electrical boxes when required.
Safety Considerations and Code Compliance

When splicing Romex cables, it is crucial to prioritize safety and adhere to electrical codes and regulations.
Following these guidelines helps ensure a safe and reliable electrical system.
Familiarize yourself with the applicable electrical codes in your region, as they provide specific requirements for wire gauge, box fill capacity, grounding, and insulation techniques.
Compliance with these codes is essential to prevent potential hazards and ensure the longevity of your electrical system.
Proper grounding is of utmost importance for electrical safety.
When splicing Romex cables, pay close attention to connecting and bonding the ground wires securely.
Utilize wire connectors or wire nuts specifically designed for grounding connections and follow the recommended techniques for grounding splices.
This ensures the continuity of the grounding system, which protects against electrical faults and helps to dissipate electrical currents safely.
Insulation is a critical factor in preventing electrical shorts and maintaining the integrity of splices.
It is essential to properly insulate all spliced connections using electrical tape or other approved insulation methods.
Ensure that the exposed conductors are adequately covered and protected.
Additionally, when required, use protective measures such as electrical boxes and conduit to safeguard the splices and prevent accidental damage.
Working with live circuits can be extremely dangerous, increasing the risk of electrical shock or injury.
Therefore, it is crucial to turn off the power to the circuit before performing any splicing work. Use a voltage tester to verify that no voltage is present in the wires.
This precautionary measure significantly reduces the risk of accidents and should never be overlooked.
Maintaining a neat and organized approach to Romex splicing is important.
Keep the wiring within electrical boxes well organized, ensuring that the splices are easily accessible for future maintenance or repairs.
Avoid overcrowding the boxes, as it can violate code requirements and impede proper heat dissipation.
Adhering to neat and organized wiring practices promotes safety and makes troubleshooting or modifications more efficient.
It’s important to note that electrical work should ideally be performed by qualified professionals.
If you are unsure about any aspect of Romex splicing or if the project involves complex electrical systems, it is advisable to consult a licensed electrician. Their expertise will ensure safety and compliance with local regulations, providing peace of mind and a reliable electrical installation.
By prioritizing safety and adhering to electrical codes, you can mitigate risks, prevent electrical hazards, and create reliable and code-compliant Romex splices.
This approach contributes to a safe and efficient electrical system in your home or workplace, protecting both occupants and property.
Step-by-Step Guide to Splicing Romex
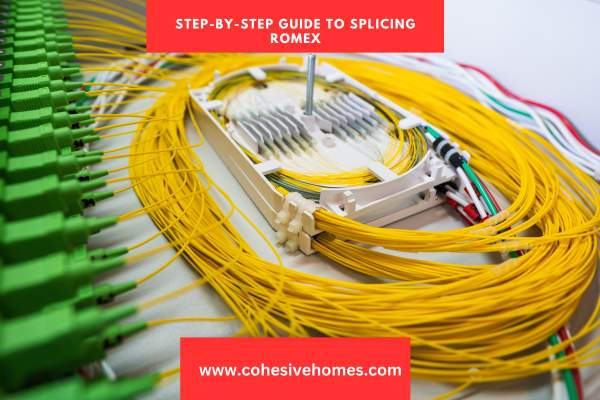
- Preparation and Planning:
- Turn off the power: Before starting any work, turn off the power to the circuit you will be splicing. This ensures your safety throughout the process.
- Assess the splicing needs: Determine the specific reason for splicing, such as extending a circuit or repairing damaged wiring. Plan the location and type of splice required.
- Gather the necessary tools and materials:
- Ensure you have wire strippers, needle-nose pliers, wire cutters, screwdrivers, wire connectors or wire nuts, electrical tape, and a voltage tester.
- Remove the sheathing:
- Carefully strip the outer sheathing of the Romex cables using wire strippers, exposing the individual conductors. Strip off approximately 3/4 inch of the sheathing from the end of each cable.
- Identify and prepare the conductors:
- Identify the hot, neutral, and ground wires in each Romex cable. Typically, the black wire is hot, white is neutral, and bare copper is ground.
- Use wire strippers to remove about 1/2 inch of insulation from the ends of the conductors. Be careful not to nick or damage the wires.
- Connect and secure the splice:
- Twist together the corresponding conductors from each Romex cable. For example, connect the black wires, white wires, and ground wires together.
- Use wire connectors or wire nuts to secure the connections. Follow the manufacturer’s instructions for proper installation and ensure the connectors are tightly secured.
- Insulate and protect the splice:
- Wrap each individual splice with electrical tape, covering the exposed conductor and extending past the connector. This provides insulation and protection.
- If required by code or for added safety, place the spliced connections inside an electrical box or use conduit to protect the splice.
- Test the integrity of the splice:
- After completing the splice, turn on the power to the circuit.
- Use a voltage tester to ensure the circuit is functioning correctly and there are no issues with the splice.
- Documentation and Clean-Up:
- Document the location of the splice for future reference or in case of troubleshooting needs.
- Neatly organize the wires and cables within electrical boxes and secure them using appropriate methods.
- Dispose of any waste materials properly and clean up the work area.
Remember, electrical work should ideally be performed by qualified professionals.
If you are uncertain or uncomfortable with any aspect of Romex splicing, it is recommended to consult a licensed electrician.
They can ensure the work is done safely and in compliance with electrical codes and regulations.
Conclusion
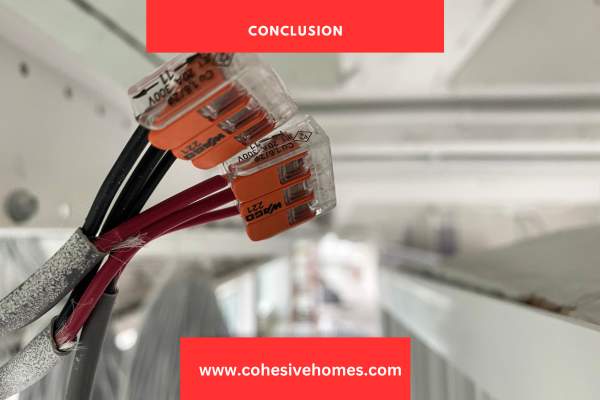
Splicing Romex cables is a practical skill that allows you to extend circuits or repair damaged wiring in a safe and efficient manner.
By following the step-by-step guide outlined above and considering important factors such as safety, code compliance, and proper insulation, you can successfully create reliable and secure Romex splices.
Always prioritize safety when working with electricity.
Remember to turn off the power to the circuit and use a voltage tester to verify that no voltage is present before starting any splicing work.
Adhering to electrical codes and regulations ensures that your splices meet the necessary standards for a safe electrical system.
Properly insulating and protecting the spliced connections using wire connectors, wire nuts, and electrical tape is essential.
This helps prevent electrical shorts and ensures the longevity and reliability of the splices.
If you are unsure about any aspect of Romex splicing or if the project involves complex electrical systems, it is recommended to consult a licensed electrician.
Their expertise and knowledge will guarantee that the splicing work is performed accurately, safely, and in compliance with local regulations.
By mastering the skill of Romex splicing and adhering to best practices, you gain the confidence and competence to handle various electrical projects with ease.
Whether you are extending a circuit, repairing damaged wiring, or making modifications, proper Romex splicing techniques are invaluable for maintaining a safe and efficient electrical system in your home or workplace.
FAQS
Can I splice Romex cables without wire connectors or wire nuts?
No, it is not recommended. Proper connectors ensure secure and reliable connections, reducing the risk of electrical hazards.
Can I splice Romex cables of different gauges?
Yes, but follow electrical codes and guidelines. Connect corresponding conductors using appropriate connectors.
Can I splice Romex cables outside of electrical boxes?
No, splicing should be done within electrical boxes to ensure safety and compliance with codes.